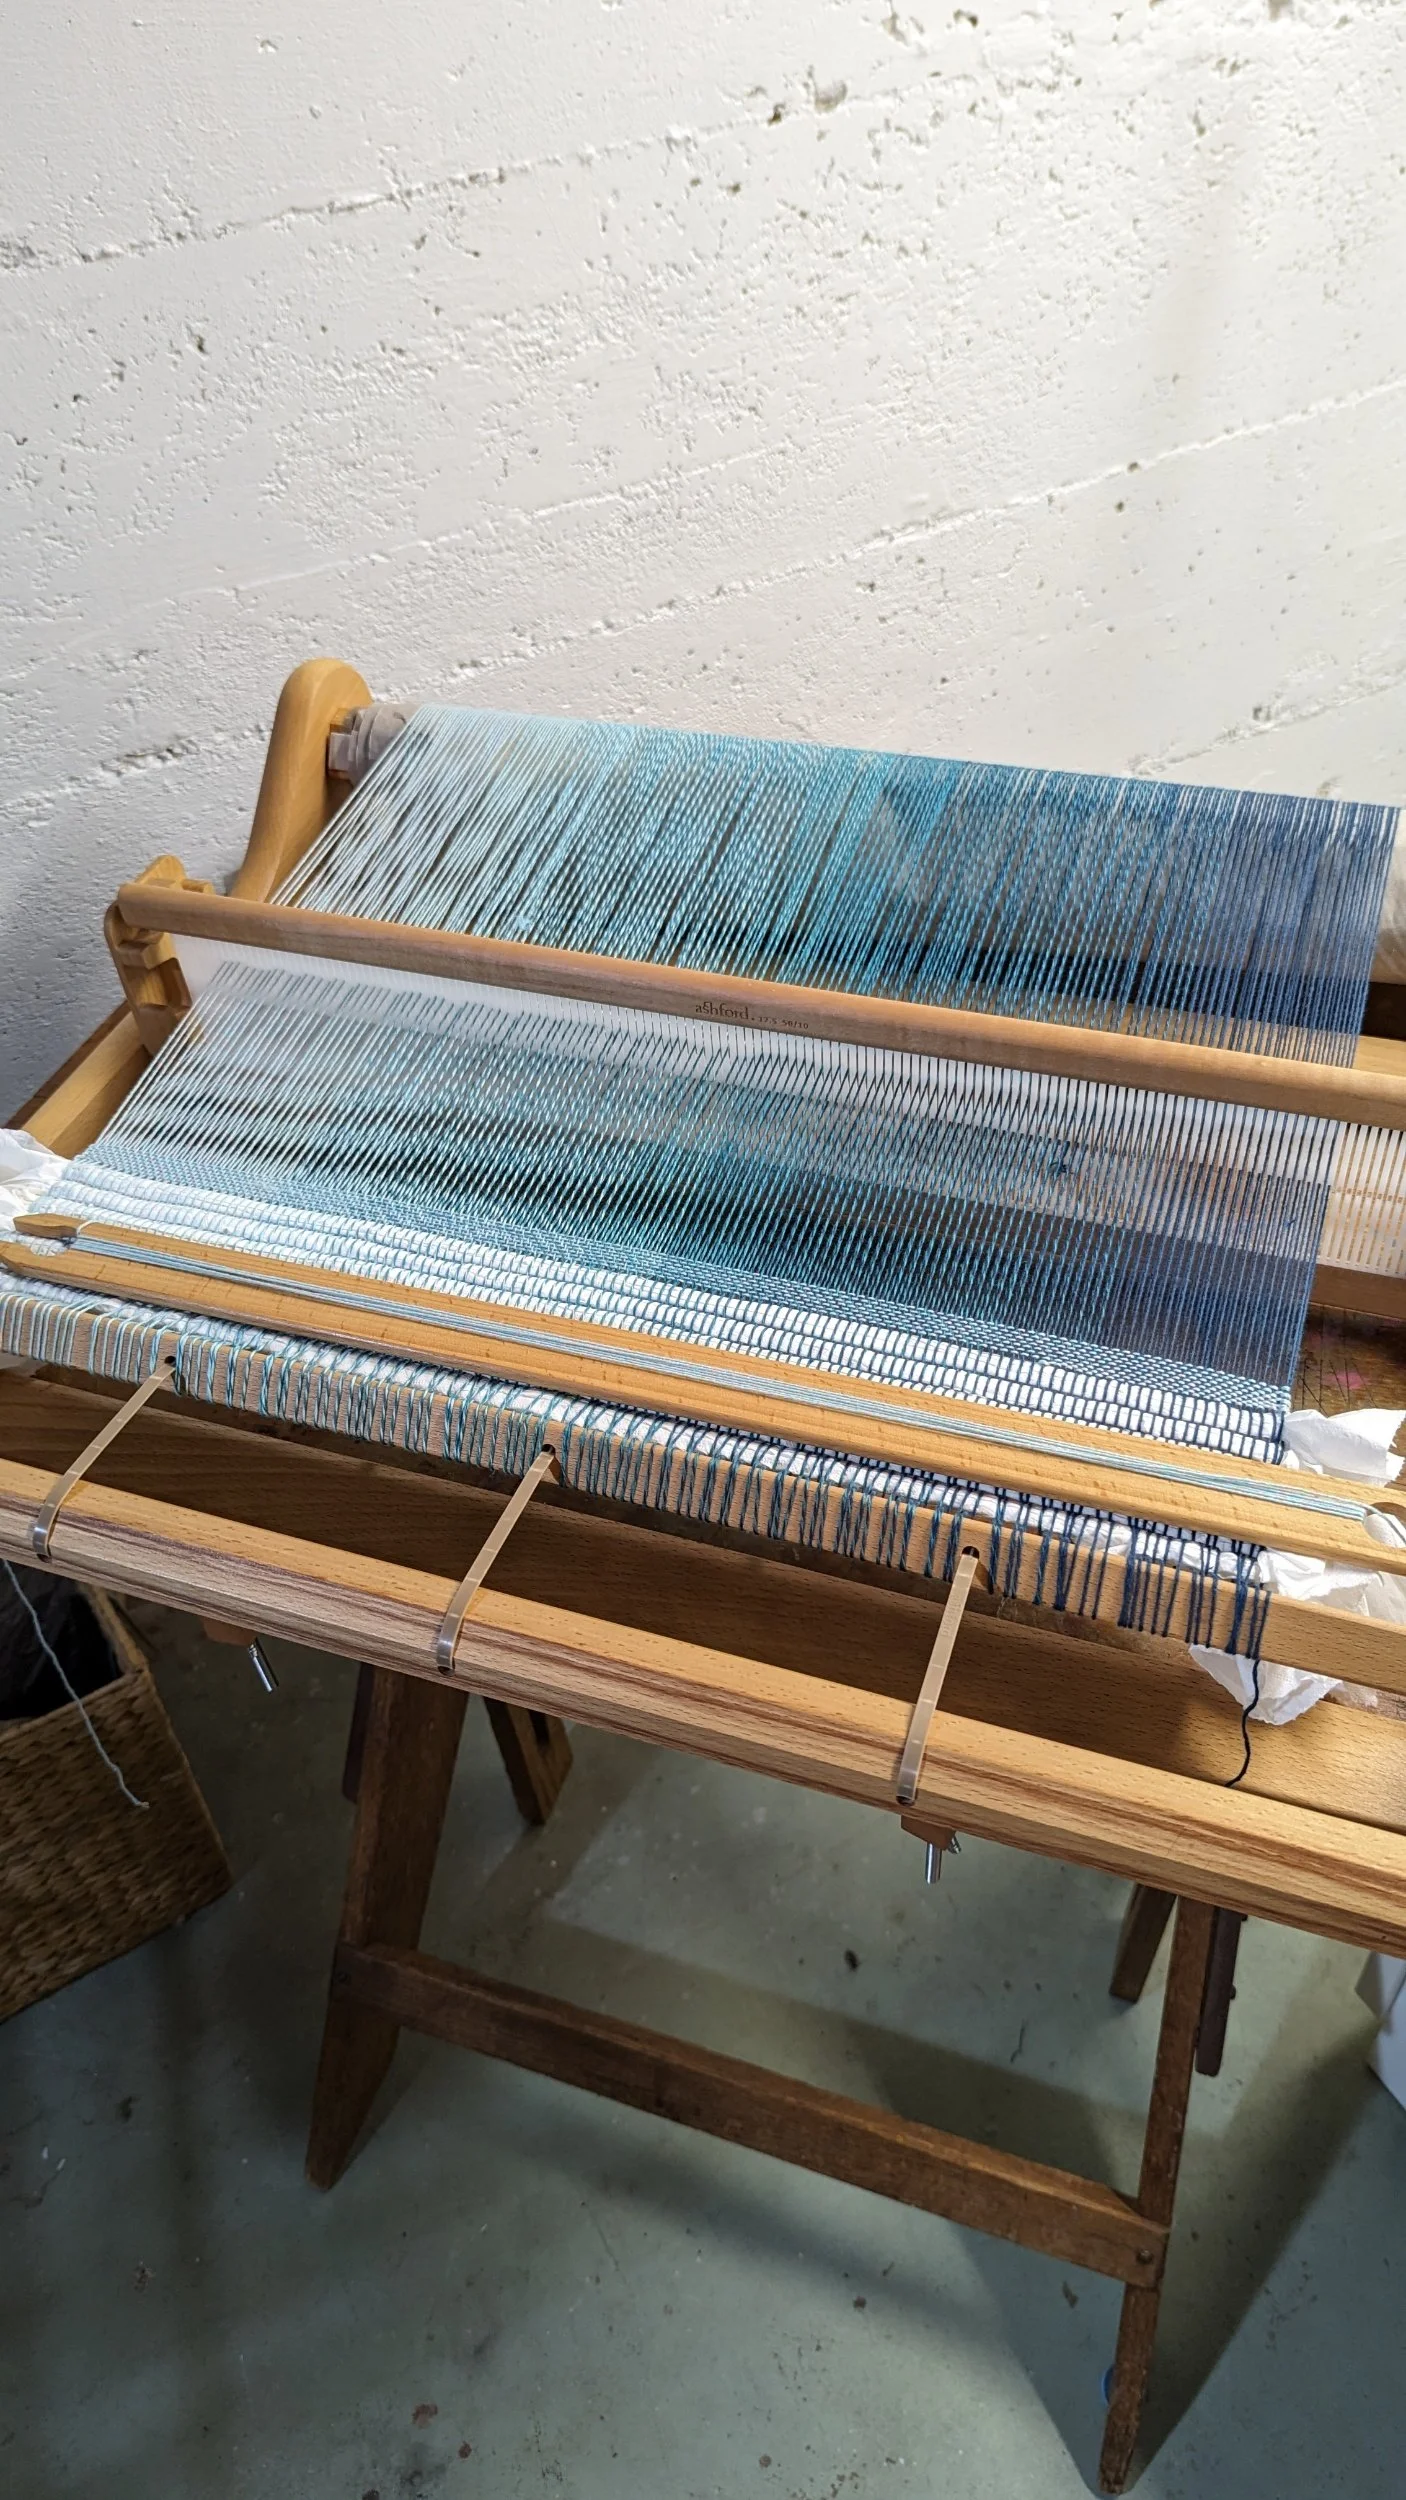
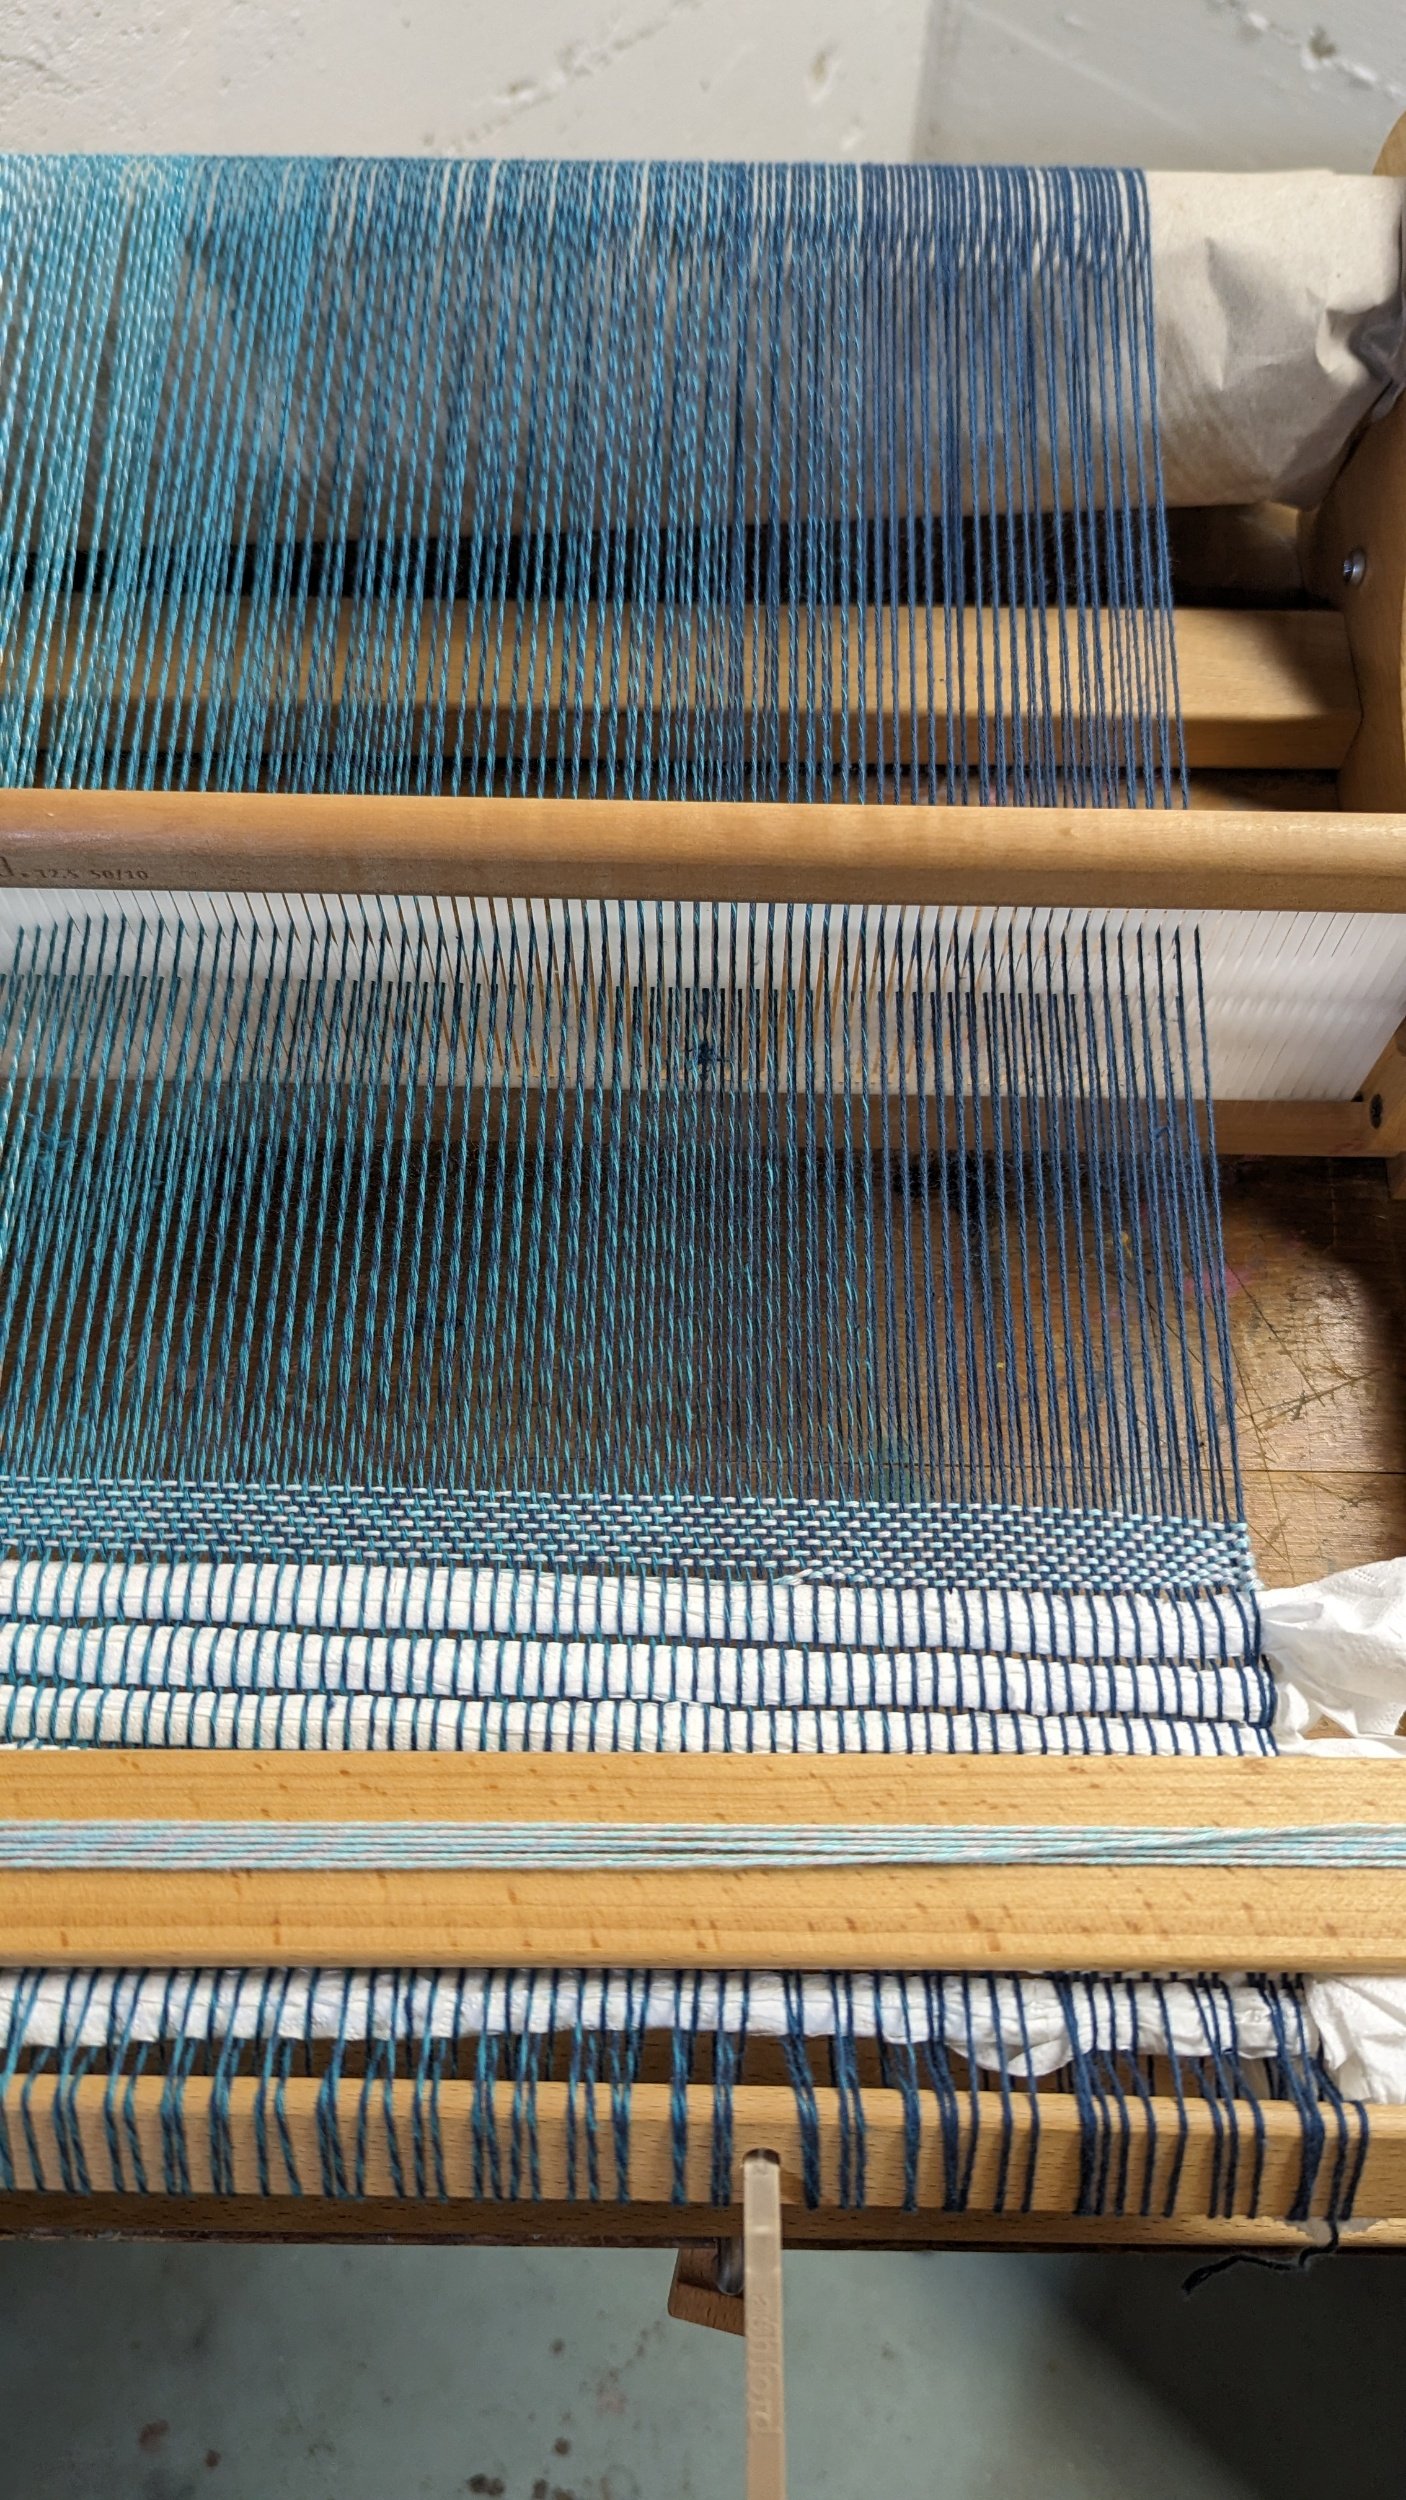
I've needed this! My loom has been laying dormant for months, and over the past couple of nights I've dusted it off and have it back up and running. I accidentally warped the loom backwards, with the heddle backwards as well, so it took quite a lot of tedious work to get to this point. But now that I'm back at it, the rhythm of weaving is all coming back and it's so soothing. The yarn I'm working with is a gradient, so it's nice to watch the colors change without having to think about changing yarns.
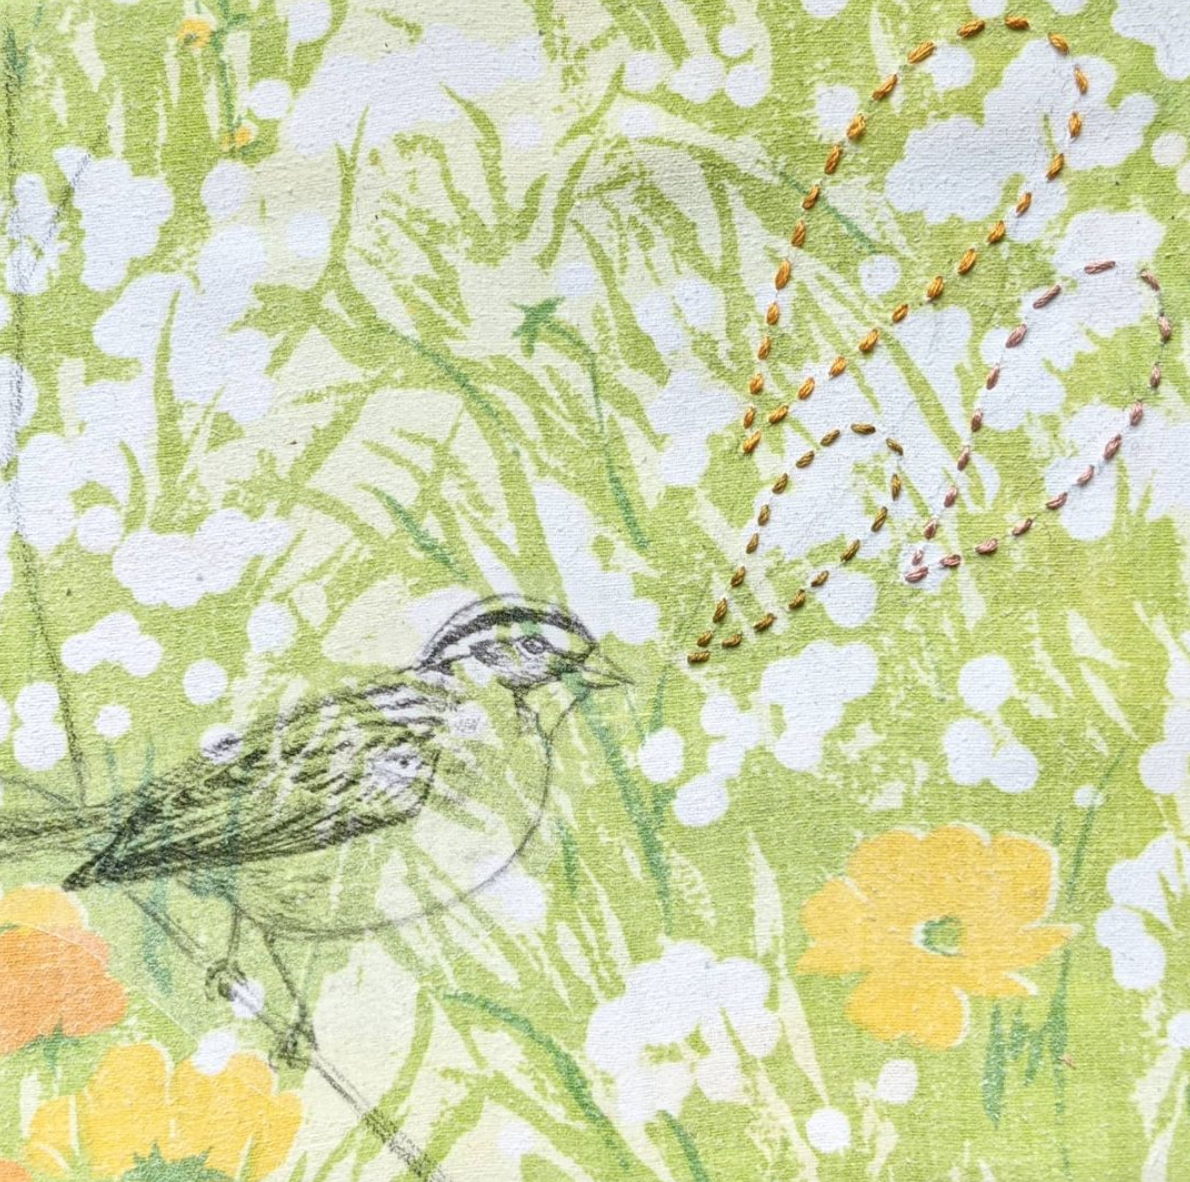
Prayer Birds
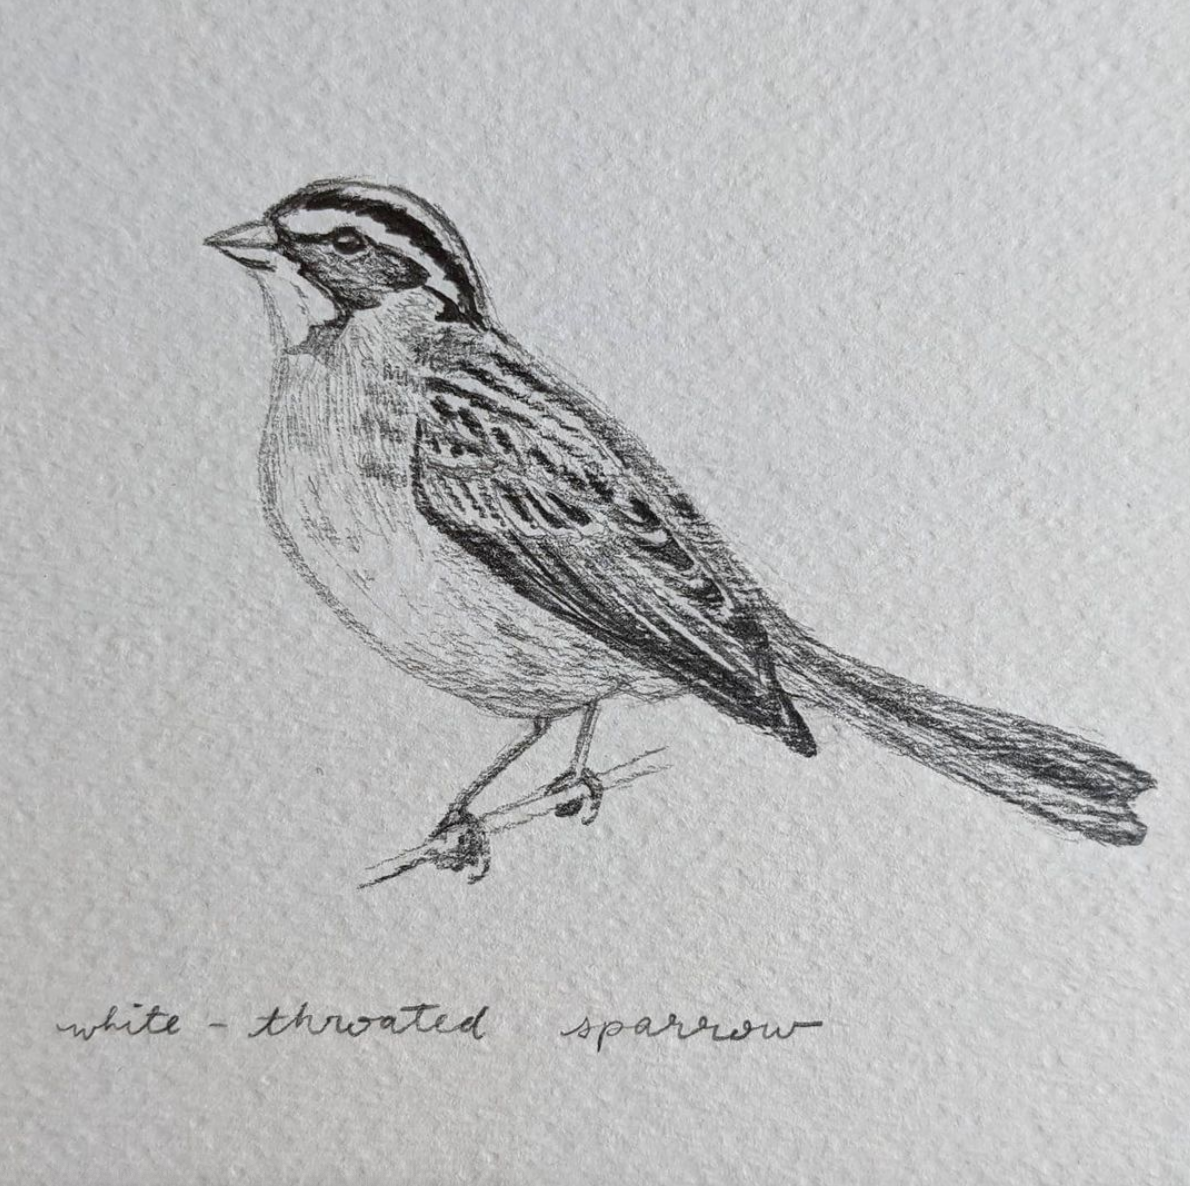
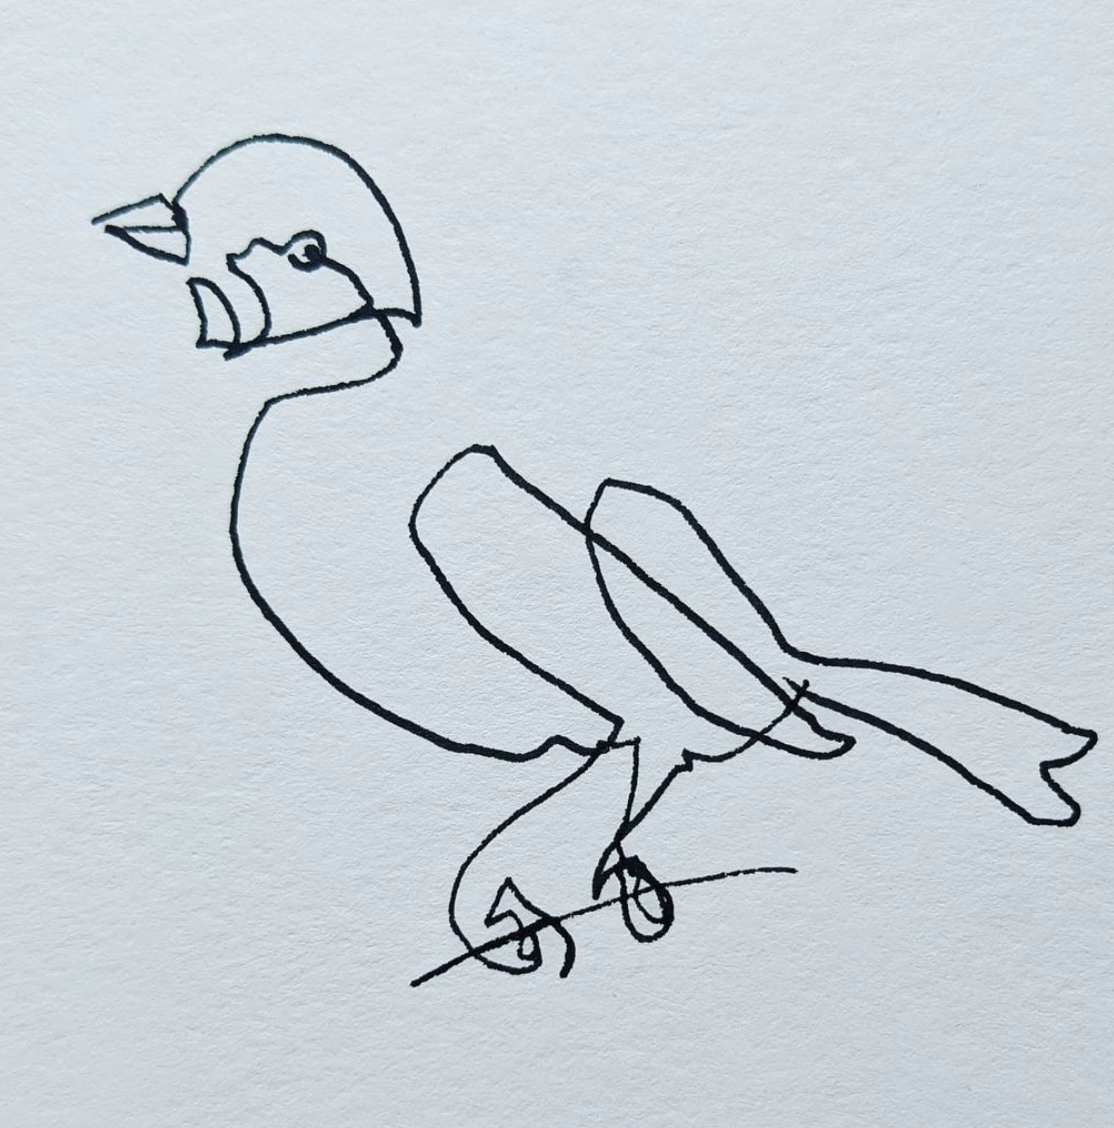
During a recent small group session with my church, the artists group spent some time praying and making art together. I decided to focus on the theme of a sparrow, and experimented with how different materials and techniques would influence my prayers. Here are a few of my birds - a detailed pencil drawing, a blind contour, and a mixed media collage on vintage fabric.
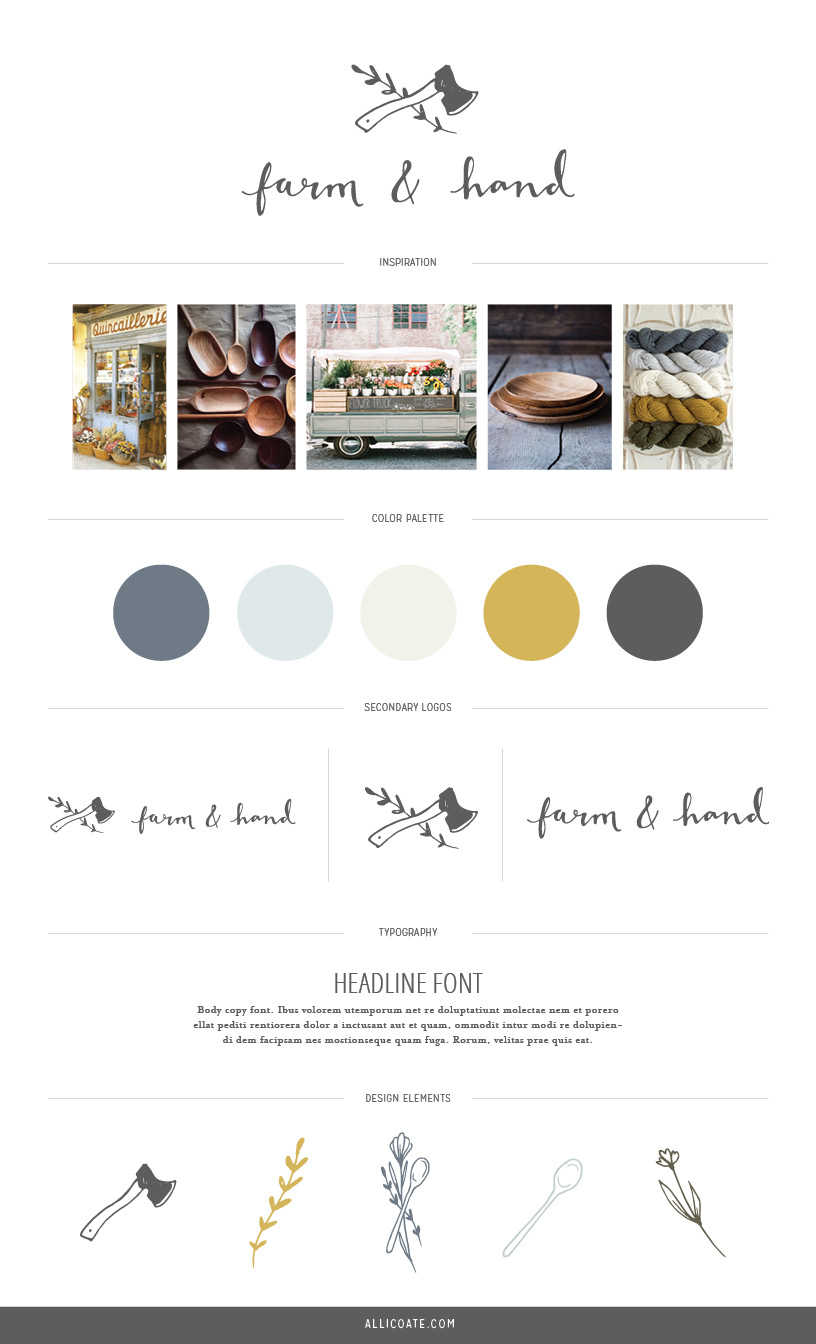
Farm & Hand Branding
I had the pleasure of designing the logo for a new company called Farm & Hand. They're opening a shop with beautiful hand-crafted wood pieces and delicious food items. I'm so excited to continue working with them as they bring their vision to life!
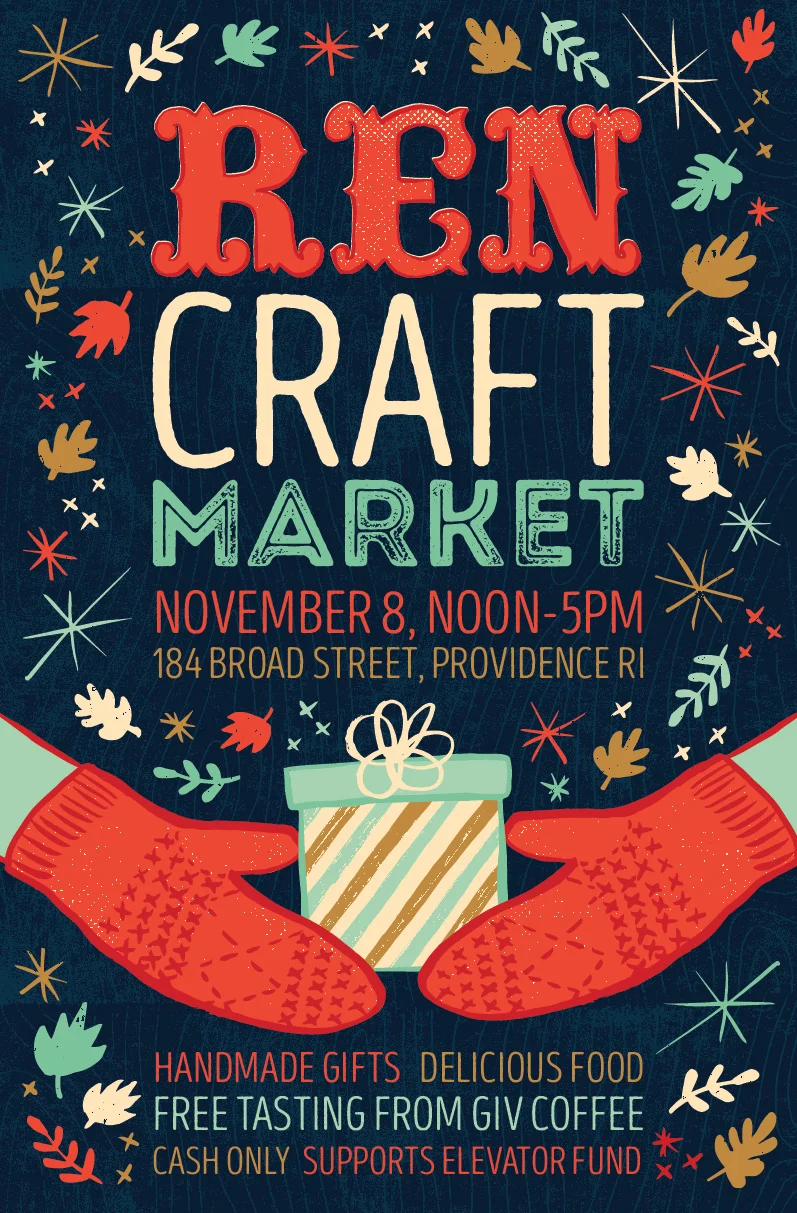
REN Craft Market Poster
I created this poster for a craft market at REN Church using hand-drawn elements and textures. The "REN" letters were drawn from the marquee lettering sign on the exterior of the building to help visitors easily identify the location. I used a color palette that I felt was both wintry and autumnal. The first event was such a success that there was a second market the next month, and I created a different colored version of the poster to advertise for that event.

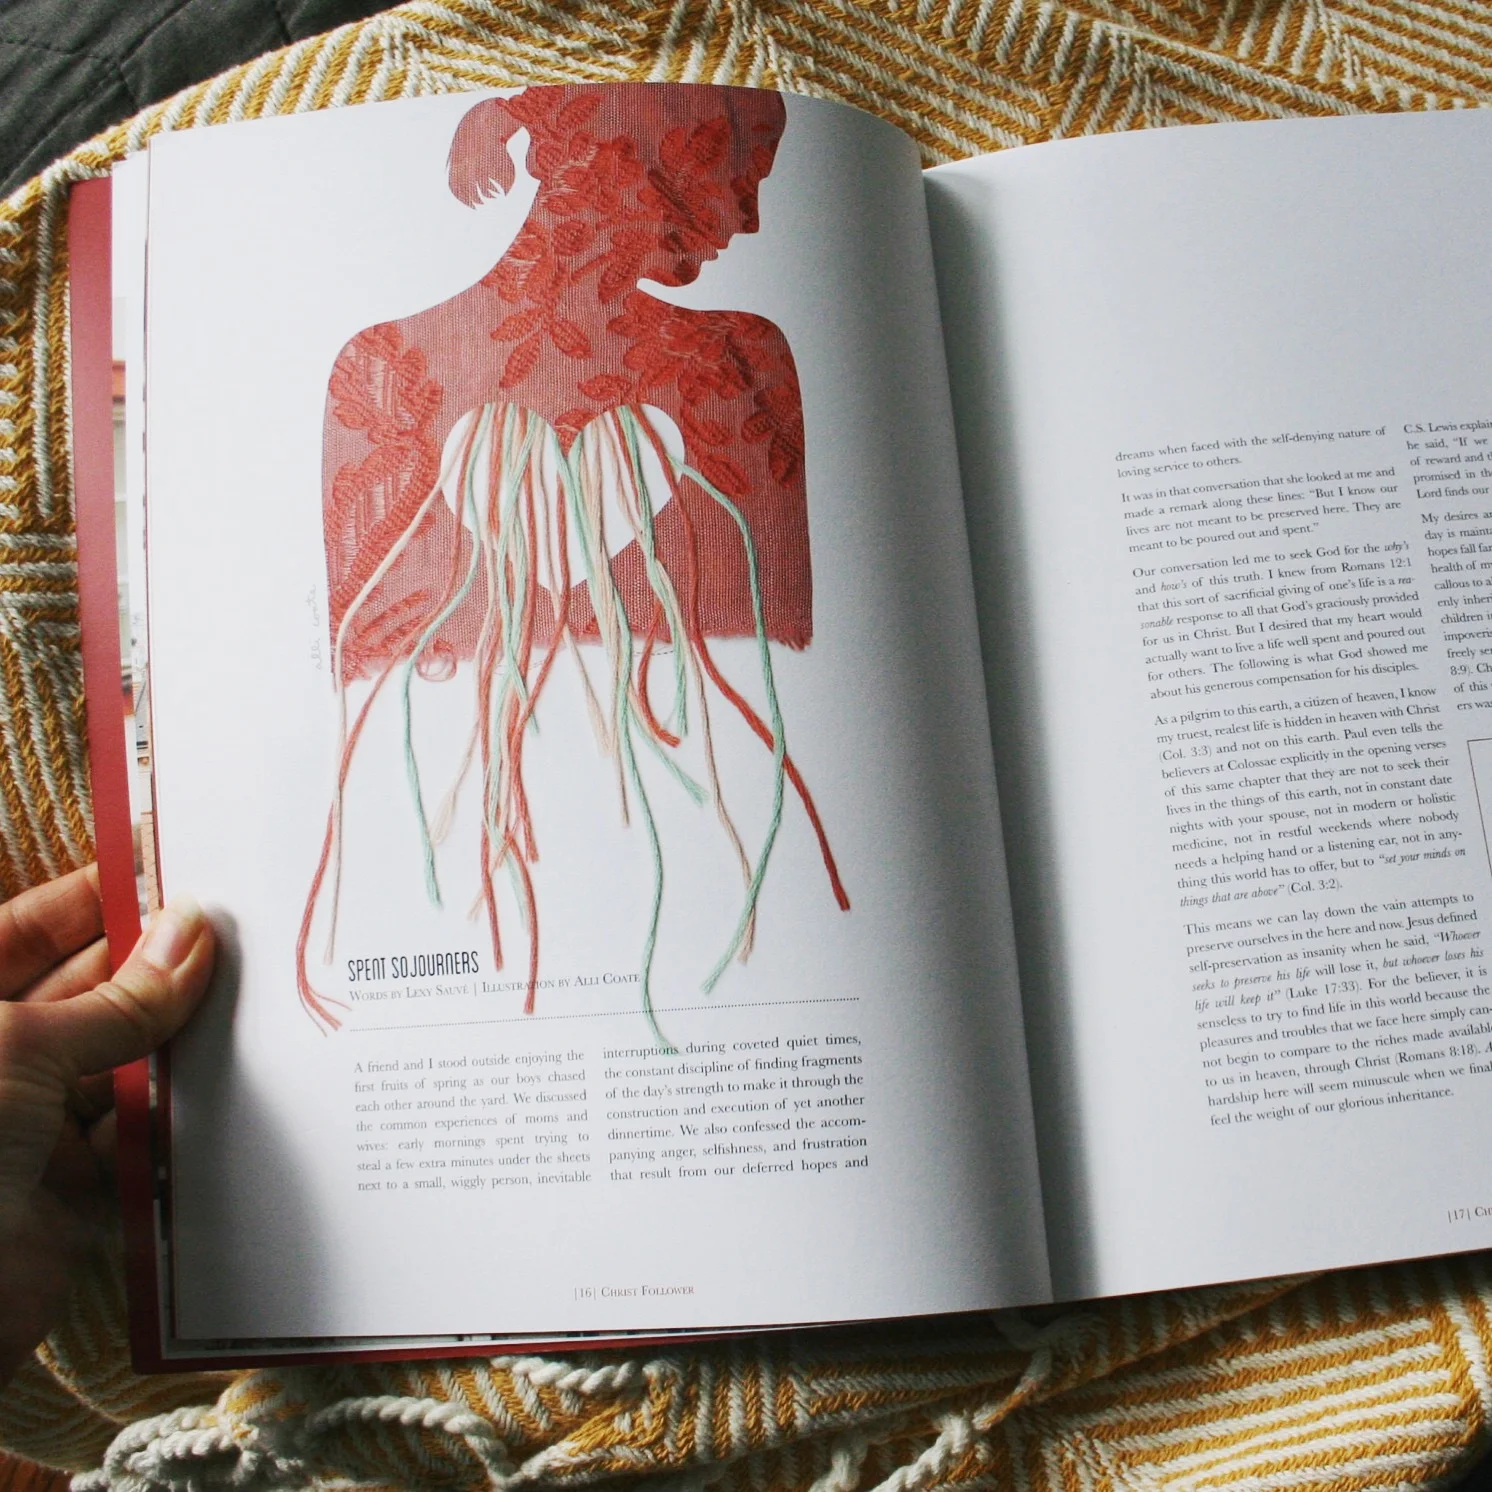
Spent Sojourners
"But I know our lives are not meant to be preserved here. They are meant to be poured out and spent." Fabric & thread illustration in issue 10 of Deeply Rooted Magazine
Side projects
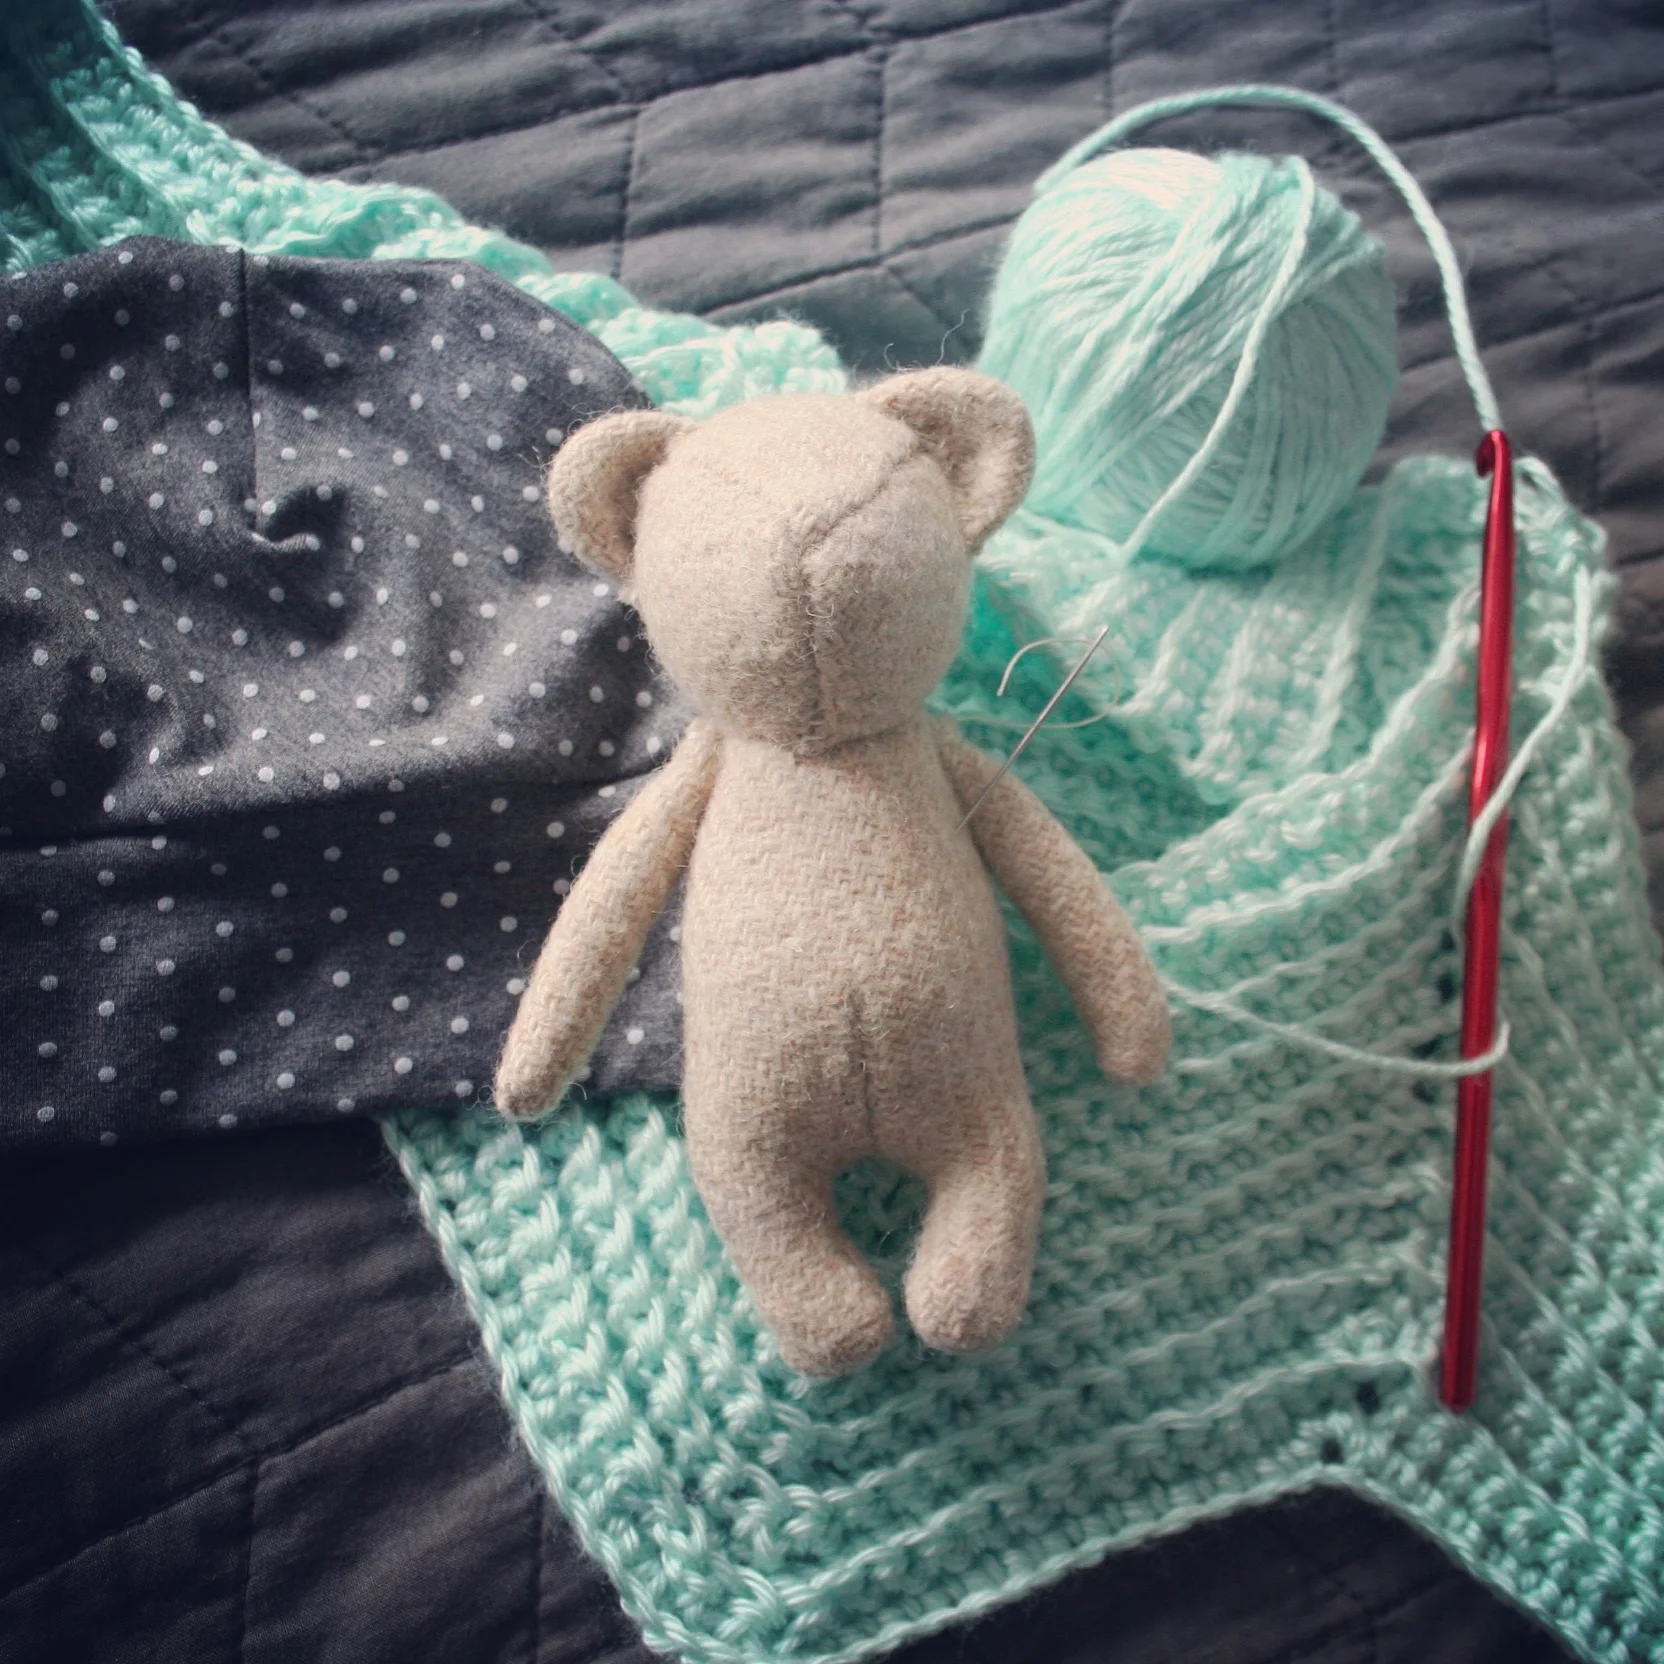
We have a new family member arriving later this year and I've been spending some time making things for the baby lately. Crafting has been a part of my life since I was a child and it's really special to me to have some time to make these little things for my own child.
p.s. the bear is a pattern from Oh Albatross on Etsy, so cute!
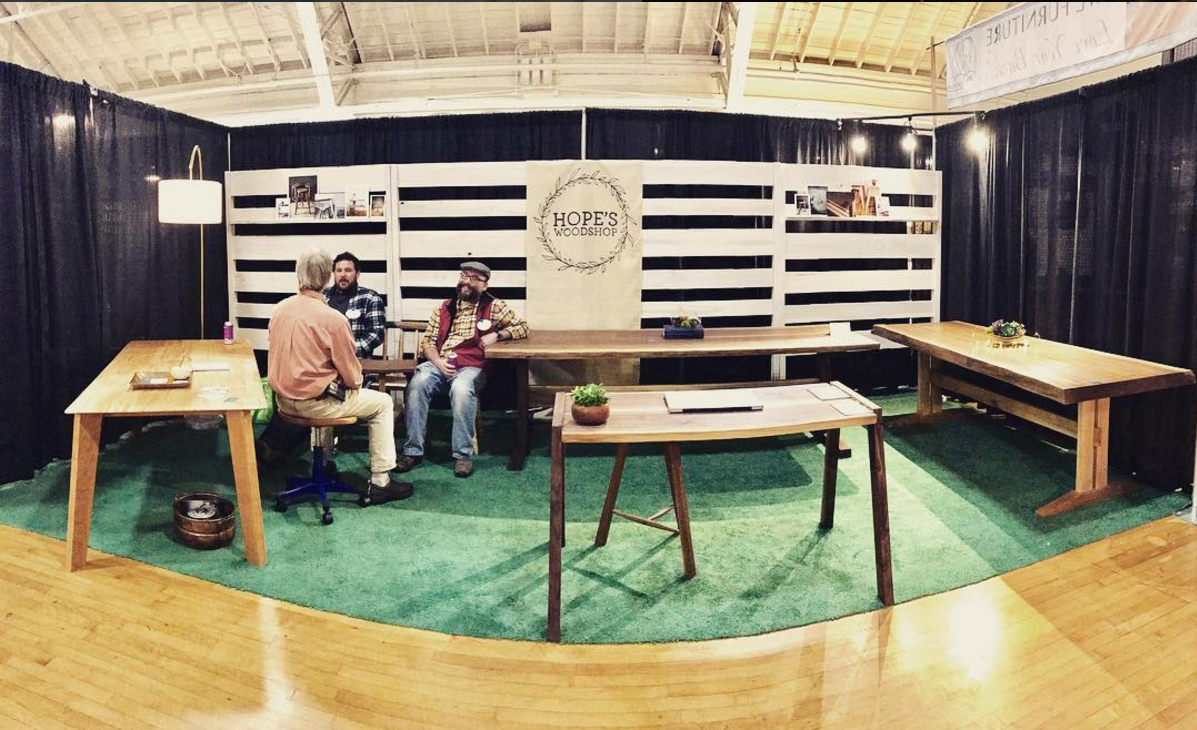
Hope's Woodshop banner
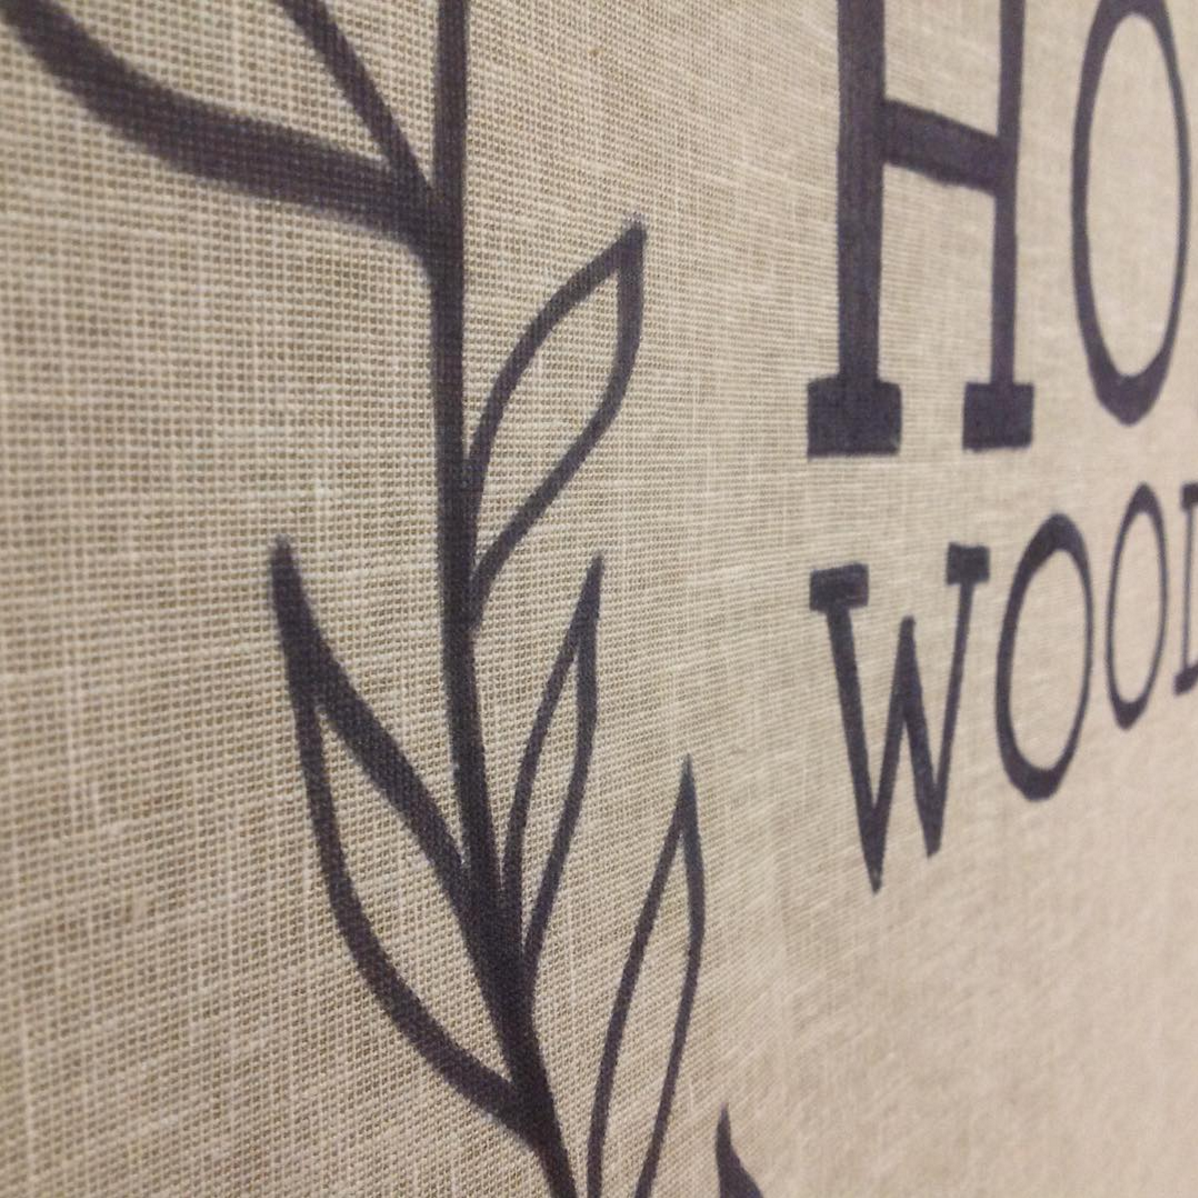
Hope's Woodshop asked me to create a fabric banner for the recent Fine Furnishings Show - I found a rough linen weave that contrasted nicely with their white wood backdrop and added an alternate version of their logo onto the center of the banner. It's been fun to see this company grow since I first created their logo years ago, and I'm excited to see how things develop for them next!
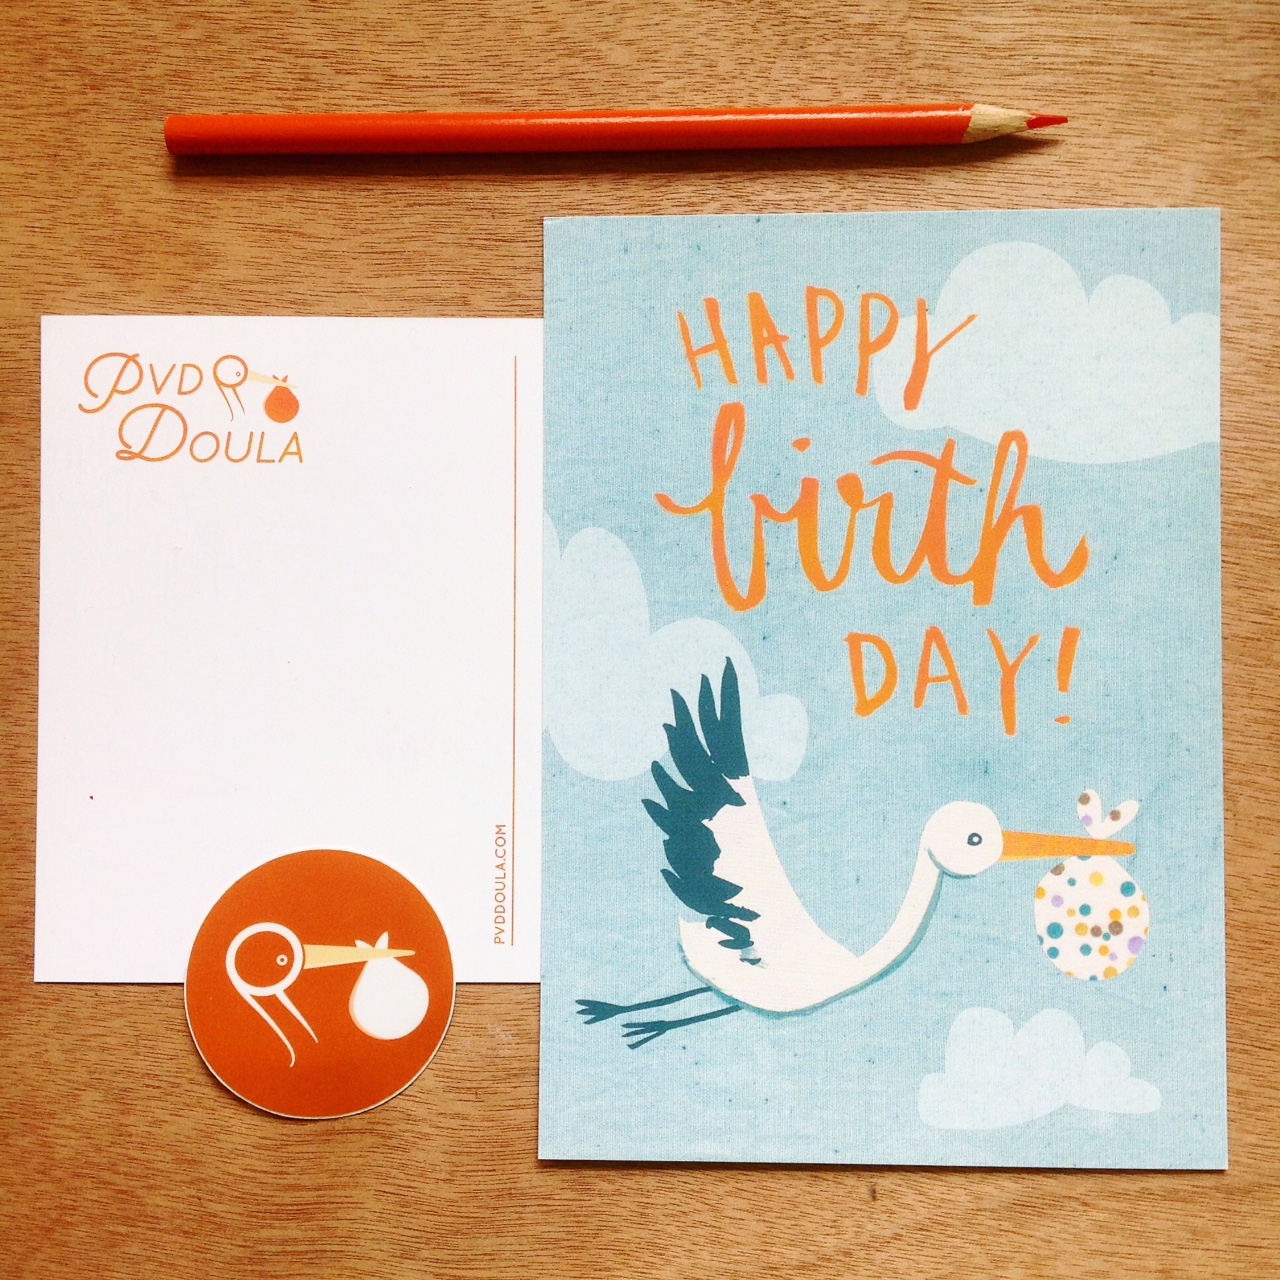
PVD Doula "Happy Birth Day" Card
As part of branding project for PVD Doula, I illustrated this fun postcard that will be sent as a little celebratory note from the doula to her past clients on their baby's birthday. The stork in the illustration is a reference to the stork in PVD Doula's logo.
Where's My Adventure?
Here's some recent illustration work for Deeply Rooted Magazine to accompany an article called, "Where's My Adventure?" The piece was about comparing our often mundane lives with the glamorous, exciting portrayals of other people's adventures that we see through social media. The writer shared about the good that God can do in the mundane parts of life, and finding adventure in the everyday.
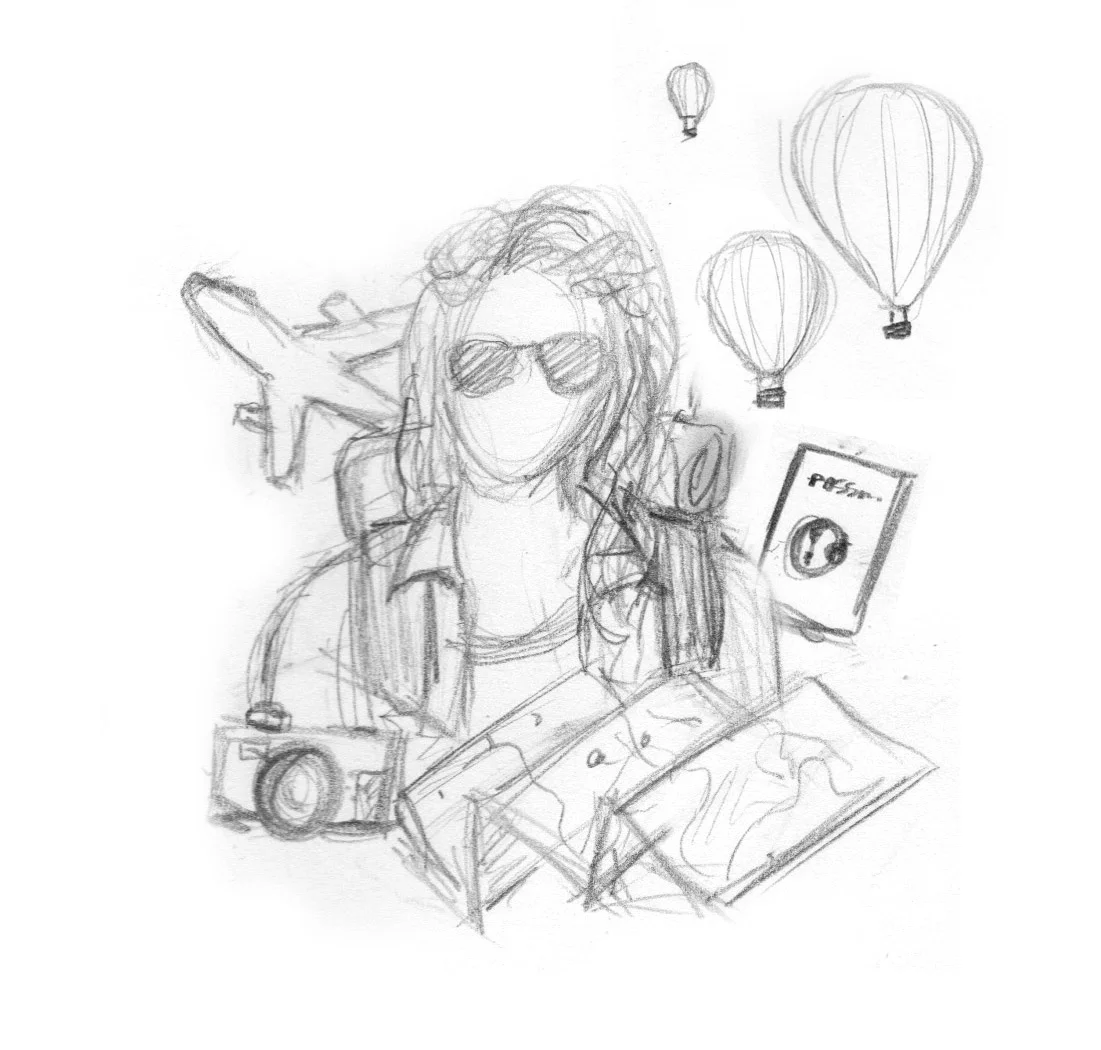
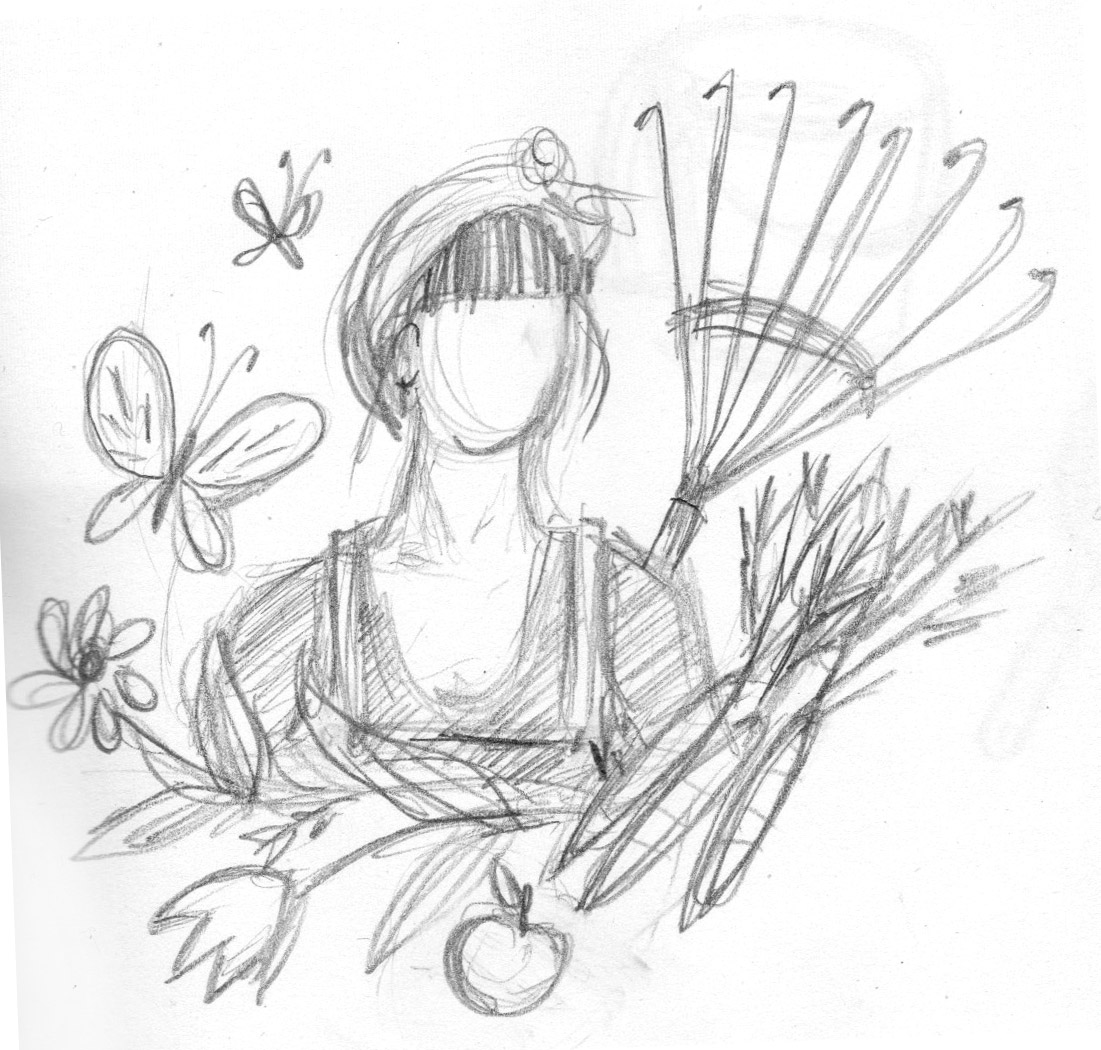

Creative Director Meghan Caughill requested a collage-style illustration featuring faceless portraits and little details to portray the lives of different women. I loved the concept and chose to combine my three favorite techniques to create these images: pencil drawing, fabric collage, and stitching.
Meghan also incorporated some of my stitched lines into the final layout (see below). I really enjoyed working on this project - thank you to the Deeply Rooted team for including me in this issue!
LRI's Jeffersonian Dinners logo
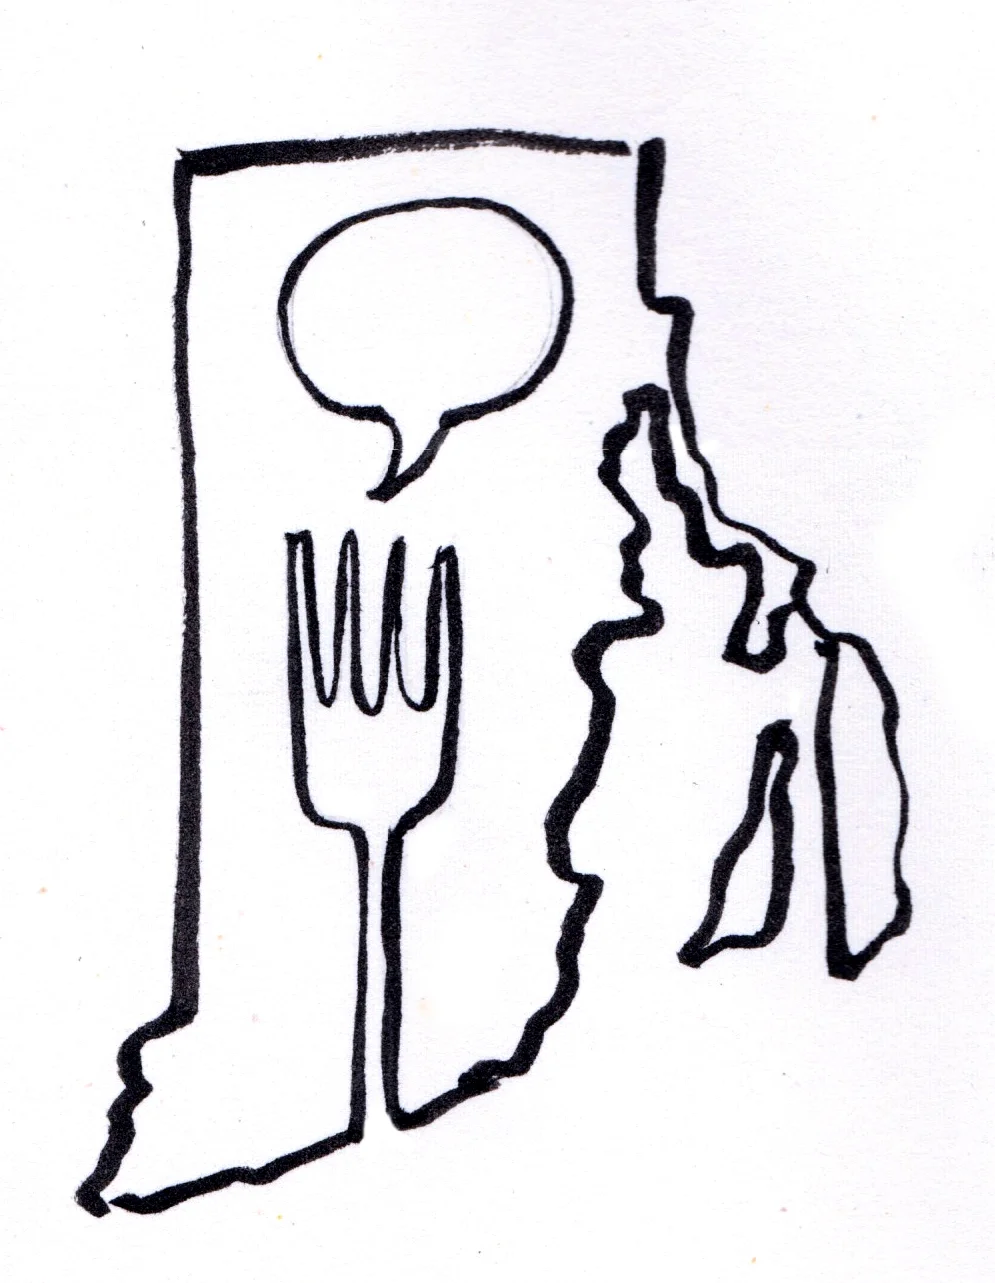
Leadership RI is an organization that supports and cultivates new community leaders in Rhode Island. They recently launched a new initiative inspired by Thomas Jefferson's historic "Jeffersonian Dinners" and asked me to create a logo to promote the events. Jeffersonian Dinners are a unique format of dinner party that bring together about 10 people with a common interest and promote connection and action. Guests participate in a single, communal conversation that is facilitated by a moderator who presents questions on a particular topic or theme.
LRI's goal in hosting these dinners is to bring together leaders throughout Rhode Island's communities in order to promote collaboration and connection. With that in mind, I developed a few concepts that emphasized the idea of a dinner party centered around conversation. (See a couple sketches below!) LRI chose to go with the idea of a conversation bubble on a dinner plate and from there I dove into the process of bringing my sketch to reality.
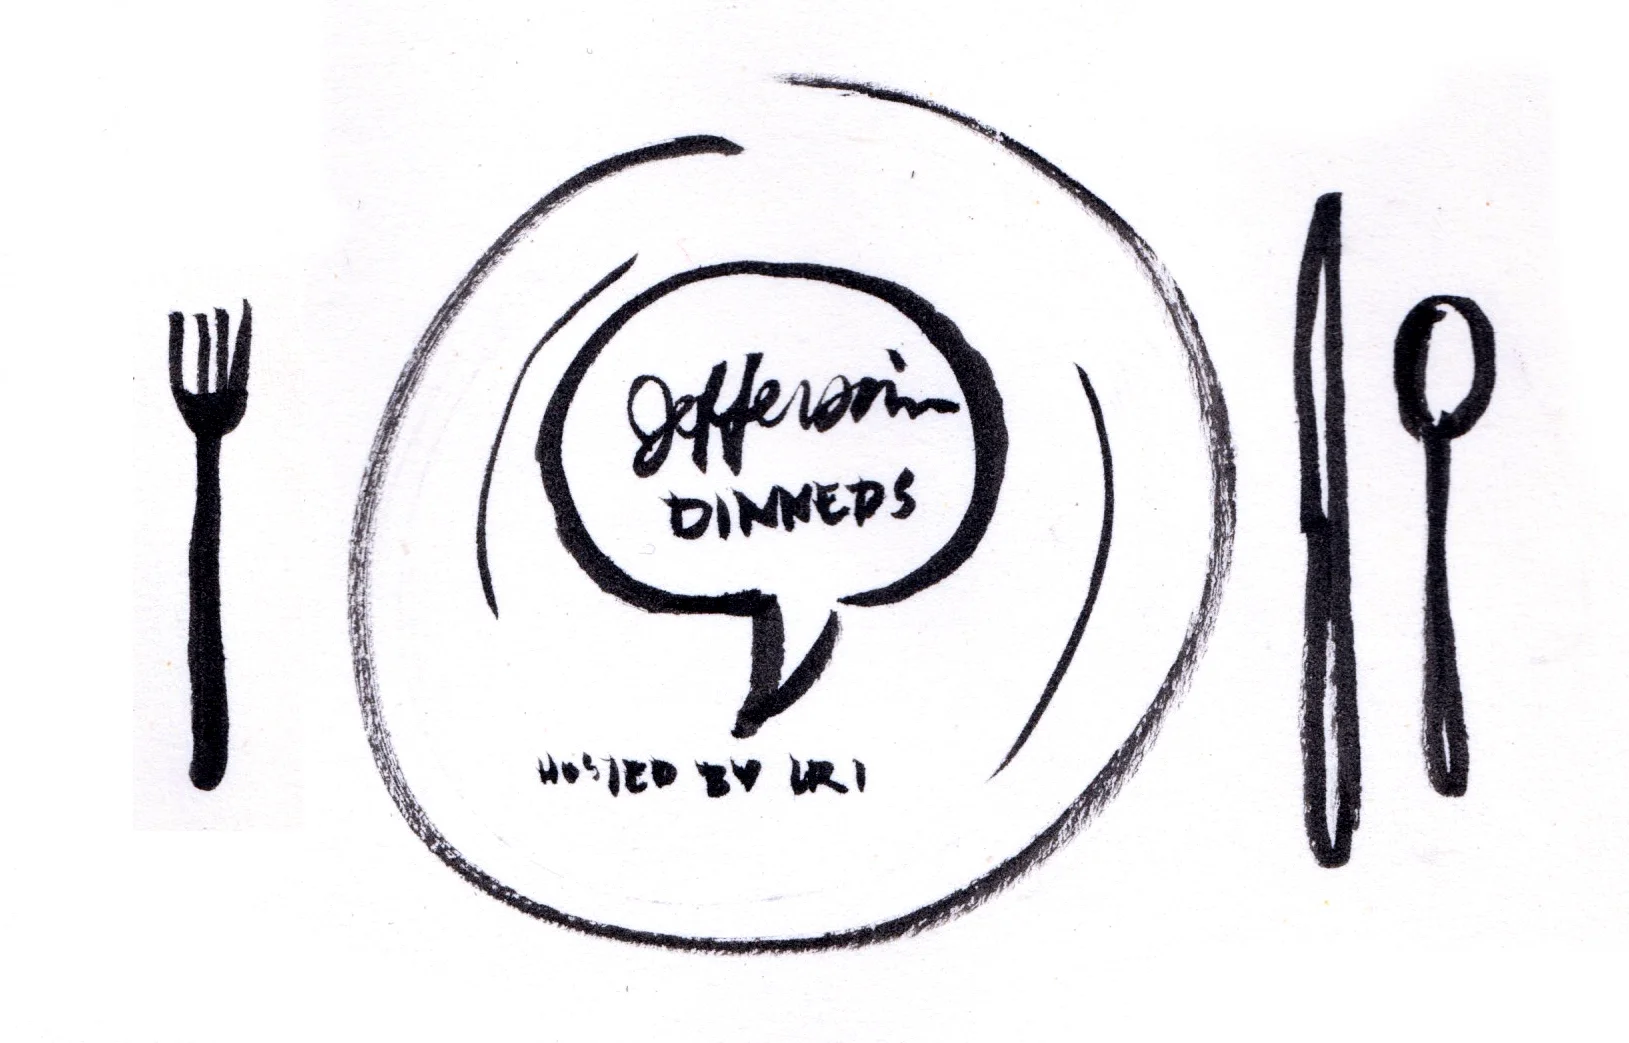
I considered using a hand-drawn illustration style for this design, but we felt that would have given a "casual" feel to the event and LRI was seeking a more elegant aesthetic that nodded to the historic inspiration. So instead, I found an old vintage engraving of fancy dinnerware and paired it with sophisticated typography. To tie this in with the rest of LRI's branding, I chose a more muted version of their signature "navy and gold" color palette.
I had a great time working on this project and learning more about Jeffersonian Dinners. If you're interested in working with me to create a logo for your event or business, check out my Logo Design Worksheet and let's get started!