Large Framed Prints - RI friends!

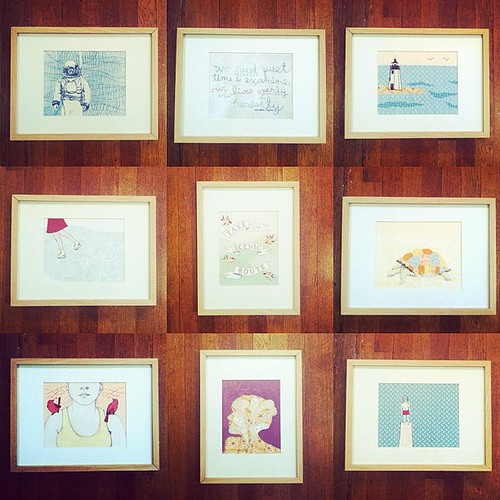
Rhode Island friends! Looking for a unique and local gift? I'm selling these 13

A quick note for the local folk - I have some framed prints left over from a gallery show that I'd rather not deal with shipping ;) so I'm offering them to Rhode Island people who would be able to pick them up. The prints are 8"x10" and the outer dimensions of the frames are approx. 13"x17". They're the ribba frames from ikea and cost me $10 so I'm selling the framed prints for $32 ea. Get in touch if you're interested- alli@allicoate.com

Bird Christmas Ornaments

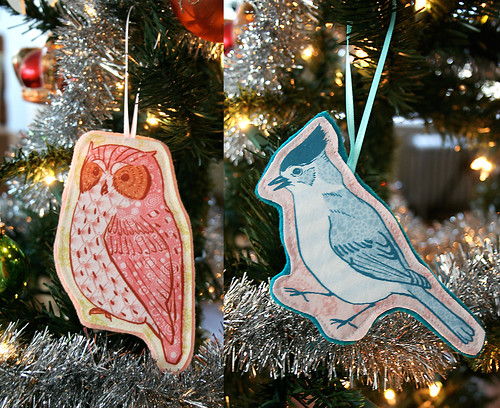
Fabric Bird Ornaments

New in the shop are these illustrated bird ornaments- each ornament is stitched with care and backed in a coordinating felt. These look lovely on your tree and would also be great perched on a perfectly wrapped gift. Which would you prefer, the Owl or the Chickadee?

Making dreams come true

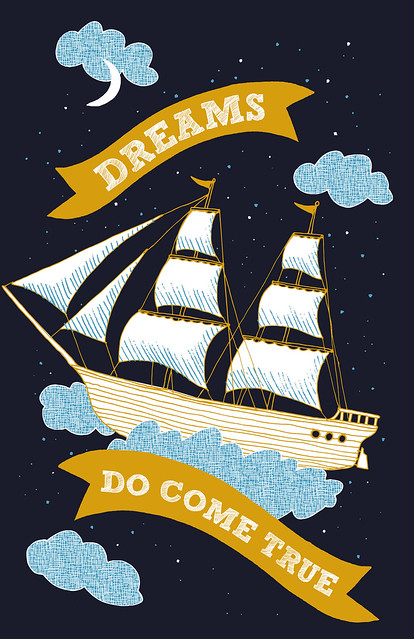
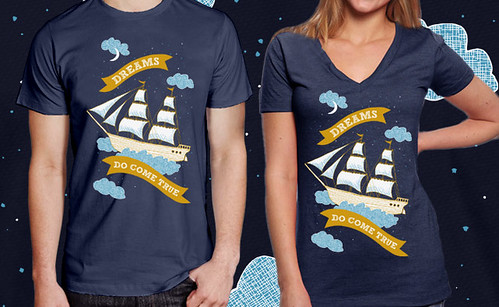
I'm super excited to share my latest project with you - just the process in itself has been fun, but what really makes it special is the meaning behind it. A few weeks ago, my friend Tino asked if I would help design a tee shirt to raise money for a family in our church that we love dearly. They are honestly some of the most loving, welcoming people I have ever met, and I can't wait to see their dream come true. They are working towards adopting two girls from Haiti, Magella (10) and Darline (11). I knew I wanted to create something really special for them... one night as I was falling asleep this image of a ship floating through a starry sky popped into my head. I loved it instantly. Here's what the idea turned into:

I wanted this to be something special and meaningful for the family and the girls who will soon be home with them, but also a message of hope for everyone. This is the first time I've ever designed a tee shirt, and to be honest it was a little intimidating! But I really love how it came out and I hope you do, too.

So, what happens next? We are selling pre-orders of the tee, with a goal to sell 200 by our deadline. When we reach our goal, the tees will go into production and will be mailed directly to everyone who pre-ordered. All the profits will go straight to the Gibb family's adoption fund, which helps cover the cost of  the very expensive process of adoption. These are really high quality, silkscreened tees and I hope you'll consider buying one for yourself, and a few more for gifts! :) There are only 10 days left, so please consider helping out by buying a "Dreams Do Come True" tee.

Update: I'm so happy to announce that we exceeded our goal and ended up reaching 311 tees! Thanks so much to everyone who helped.

Behind the Scenes: illustrated pillow covers

Step one: cut, iron, hem.

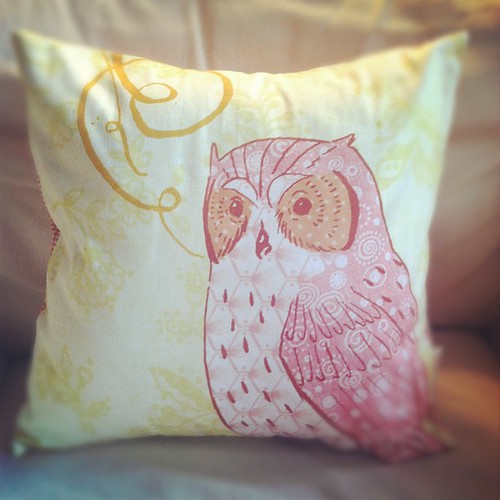
As a budget-conscious artist, I love being able to offer functional works of art in the form of these handmade pillow covers. They're some of my best-sellers, so you all must love them too! Here's a behind the scenes look at the process of making them:

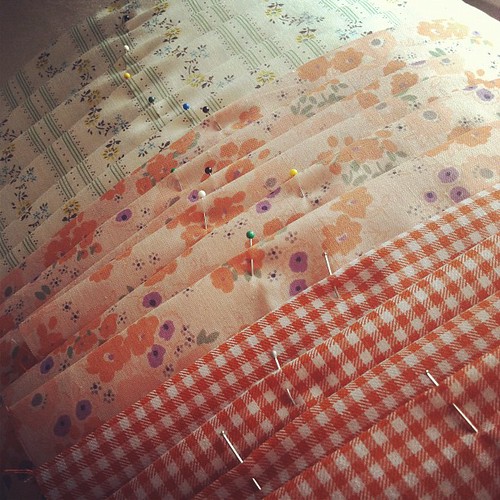
Step one: cut, iron, pin (and sew) fabric for pillow backs.

Step two: cut pillow fronts

Step two: cut fabric for pillow fronts.

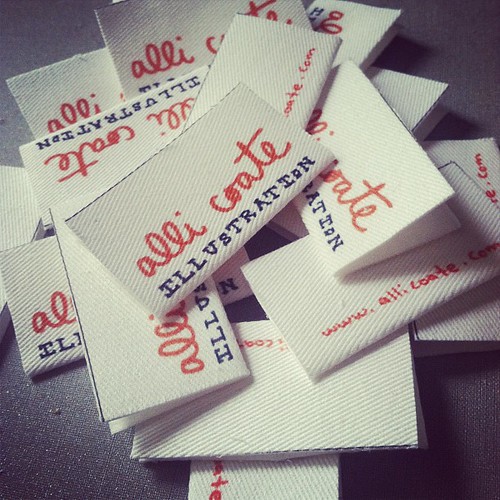
Step three: prep labels.

Step three: prep labels.

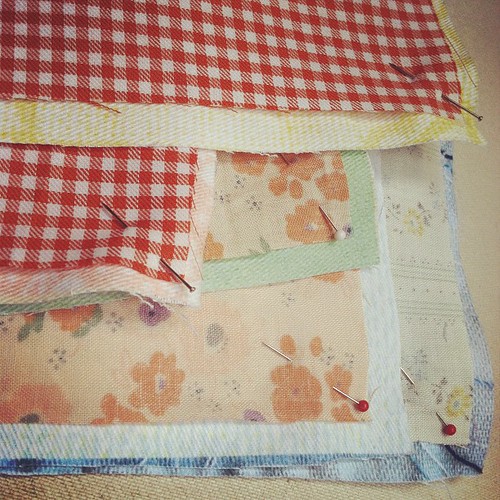
Step four: pin.
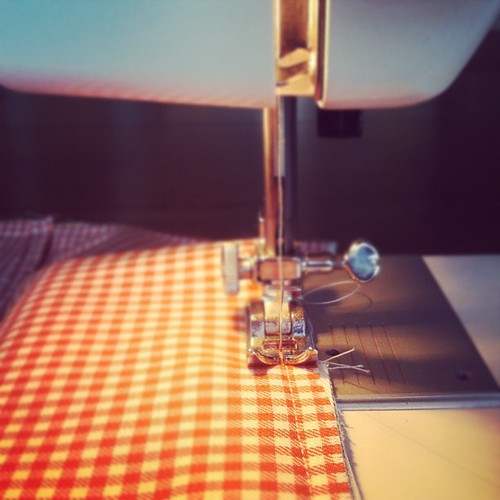
Step five: sew.

Step four: pin together pillow front and back pieces.

Step five: sew!

Pillow

The best part is turning the pillow right-side-out. Love that feeling of finishing a project! If you'd like to get a pillow cover of your own,  you can pick one out from my etsy shop.

Sky Jewelry

Sky Jewelry

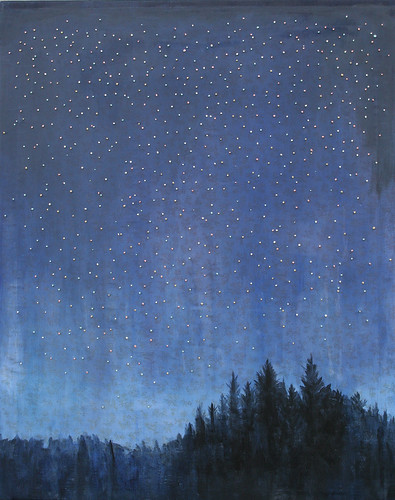
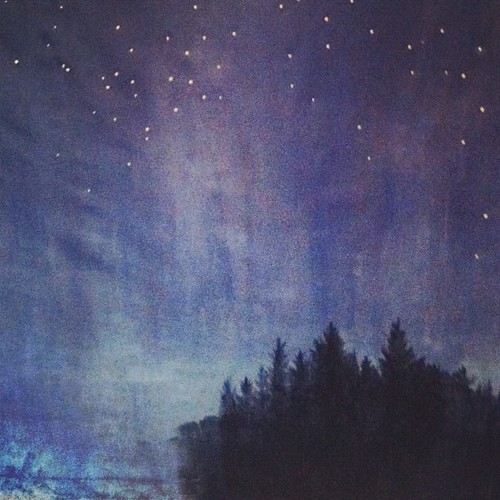
If you have taken a glance at my twitter or facebook pages in the past few months, chances are that you've seen one of the many photos I've  taken of this piece. I couldn't help myself - this painting won me over even as I spend finger-numbing hours sewing each star by hand. There's something about the simplicity  of the image vs. the tediousness of the technique that is striking -  and difficult to capture in photos! So forgive my "photo overload"...

Sky Jewelry detail
Sky Jewelry detail
Progress 1

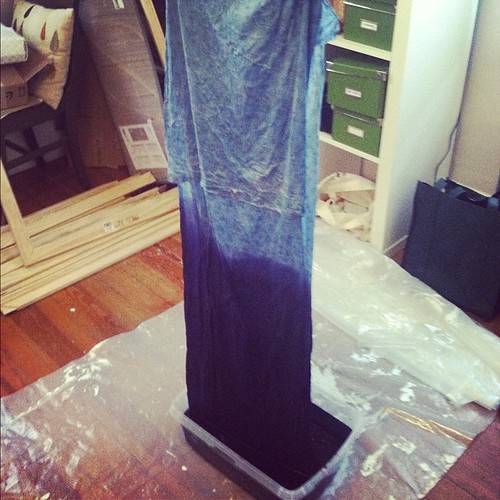
It began with this piece of fabric:

After dyeing it light blue, I mixed up a batch of navy RIT dye and slowly dipped the fabric to create an ombre effect. I have very little fabric dyeing experience so at this point I was basically figuring it out as I went along.

Progress 2

Thankfully, it turned out exactly as I'd hoped:

Progress 3

After stretching the fabric onto canvas stretchers, I started painting in the skyline and added some brushstrokes in to deepen the faded look. And I couldn't resist sprinkling some pastel-colored stars in the sky:

Progress 4

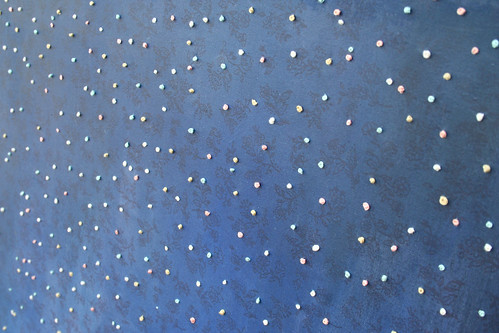
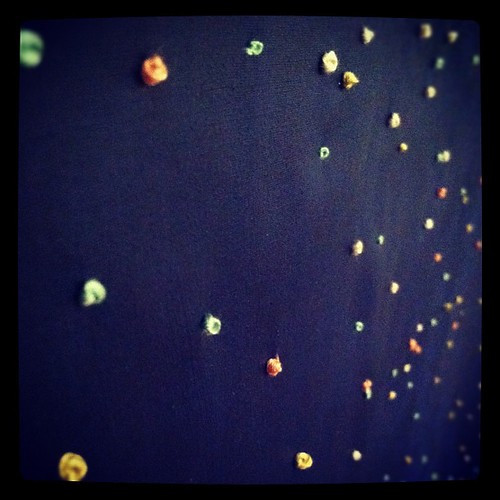
One of my secret wishes for this project was to finally master french knots, the one basic embroidery stitch that has always given me trouble. There are a few wonky ones in there, but I must say that I'm feeling a bit more confident in my french knots these days.

French knot stars

If you want a piece of the night sky for yourself, you can buy the 8x10 "Sky Jewelry" print at my etsy shop. Hope you like how it came out!

Safe Pasture

Safe Pasture

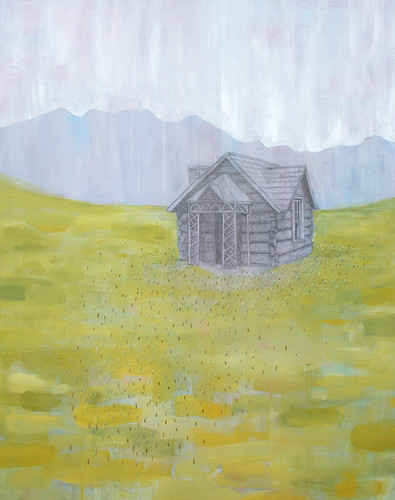
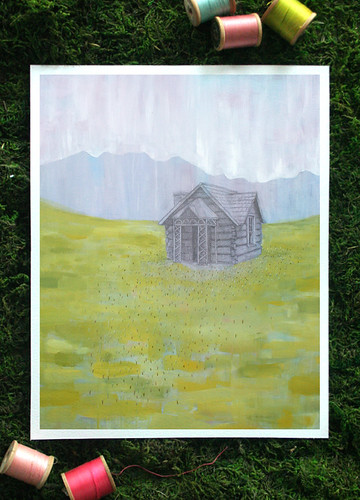
Hello! I'm excited to share a new painting with you today. Over the past  three months, I set to work creating some new paintings for my first  ever solo gallery show called "Threads." One of six 32" x 40" paintings,  this piece combines paint, pencil and thread in a way I'd never tried  before.

Each of the paintings were inspired by a different biblical Psalm; this one was taken from Psalm 37: Trust in the Lord and do good; dwell in the land and enjoy safe pasture.

Safe Pasture detail

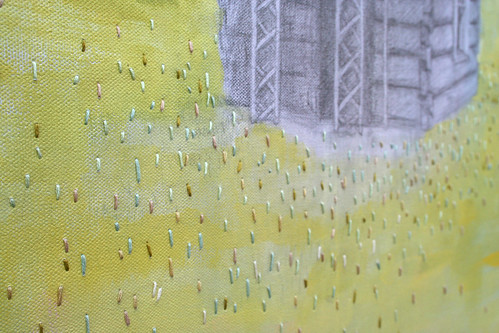
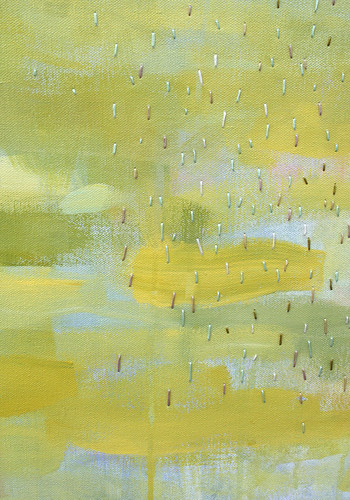
I absolutely loved stitching these pastel colors directly over my brushstrokes - it was a "no turning back" moment but I really am happy with how it turned out.

Safe Pasture detail

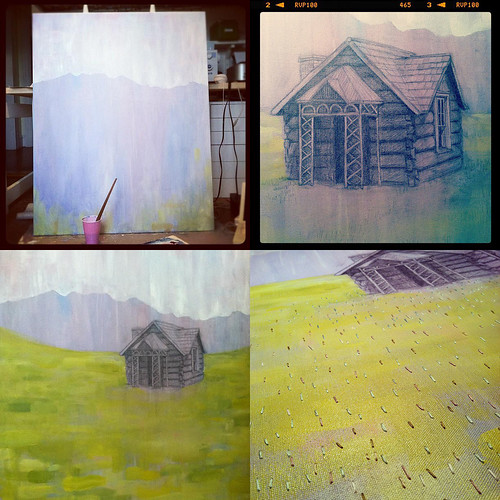
Here's a little look back at the process of creating this one. I loved this painting at each different stage (which isn't always the case!). It gives me a "safe" feeling and I wish I could crawl inside and spend a week in that sweet little cabin.

8x10 Safe Pasture print

An 8x10 print of the painting is available in my etsy shop. Enjoy!

Convertible straps for clutches

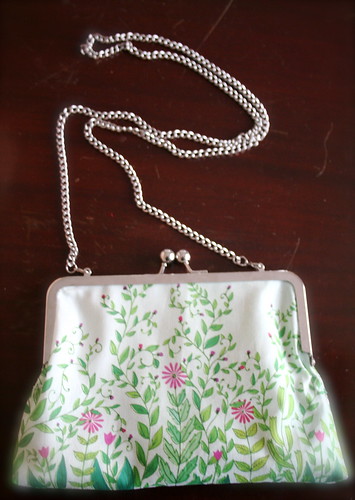
purse with shoulder strap

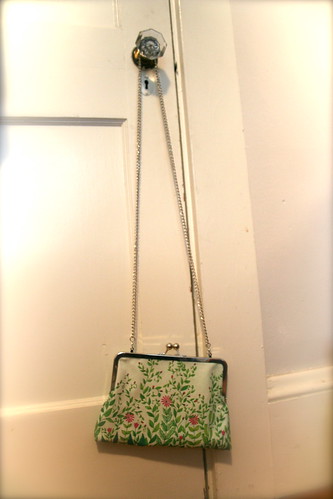
I've been meaning to post these for such a long time - FINALLY getting to it now! Shoulder-Length Purse Chains are now available in my Etsy Shop for converting my illustrated clutches into shoulder bags. They're super easy to use - each end of the chain has a clip that attaches to a hinged metal loop inside the clutch. (Note: if you have an early edition of one of my clutches, it might not have the loops - I switched to a new purse frame in the past year or so.) You can easily tuck the chain inside the clutch - or remove it entirely - to switch it from shoulder bag to a handheld clutch. Another bonus - the chains are nickel-free so those of us with sensitive skin can wear these on bare shoulders without fear (can you tell I'm looking forward to warm weather?).

purse with shoulder strap