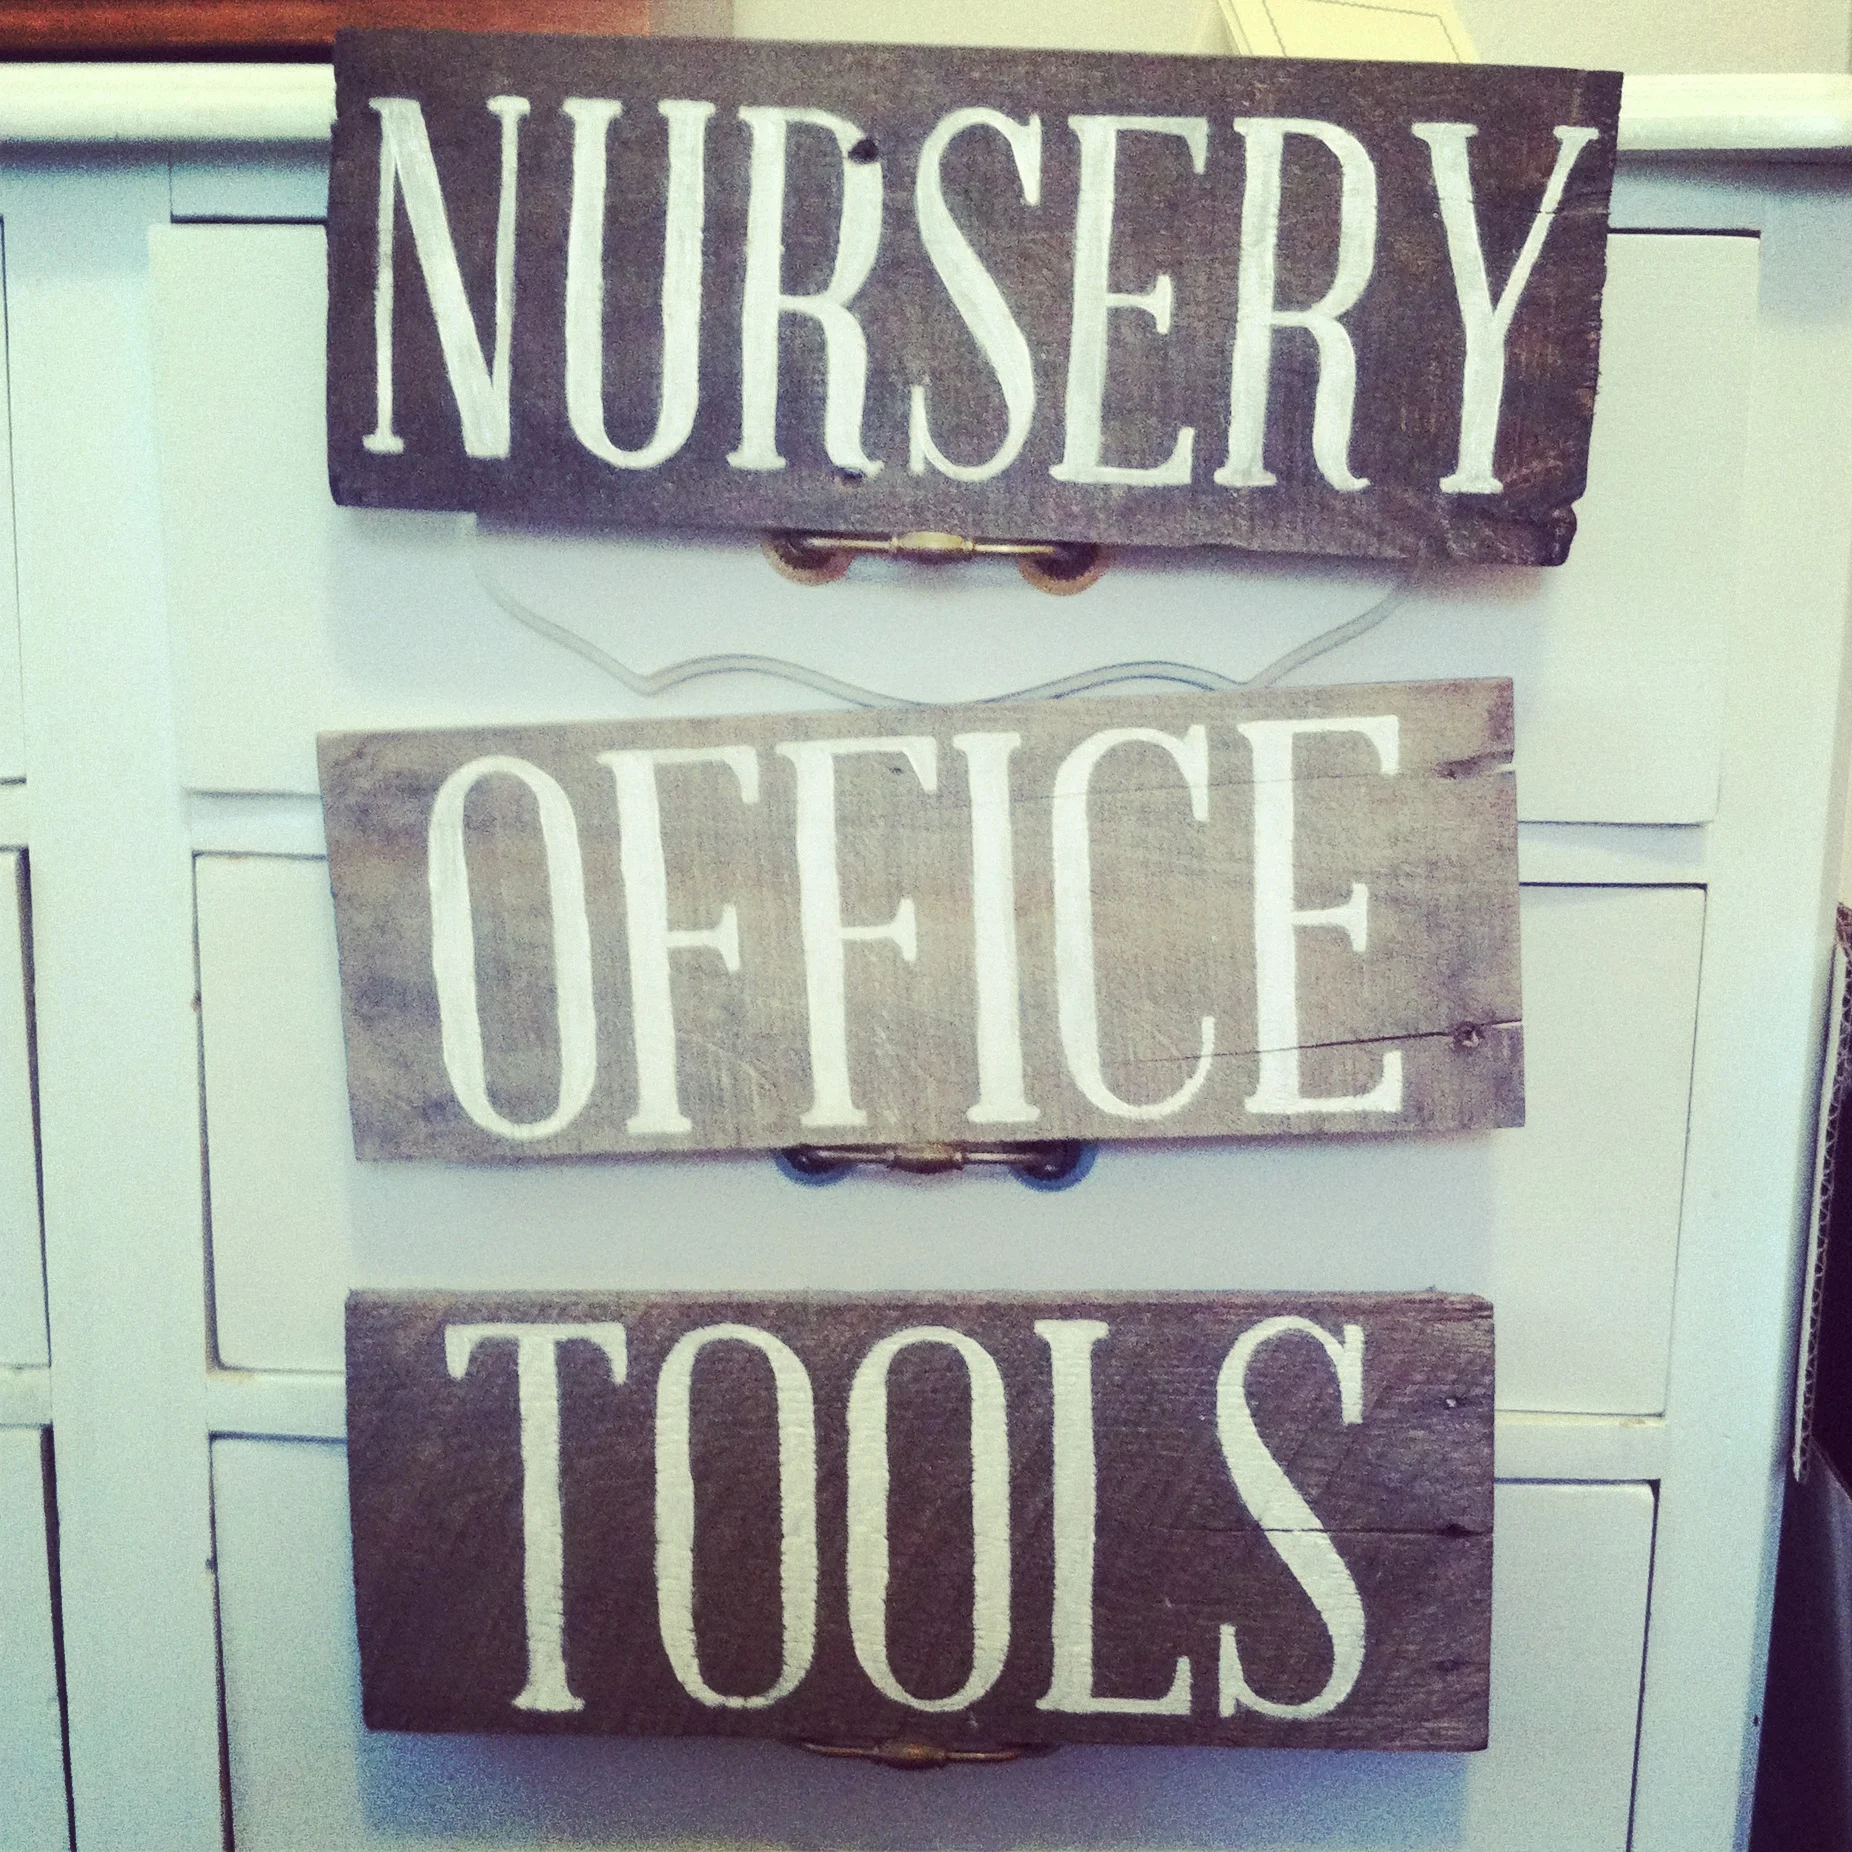
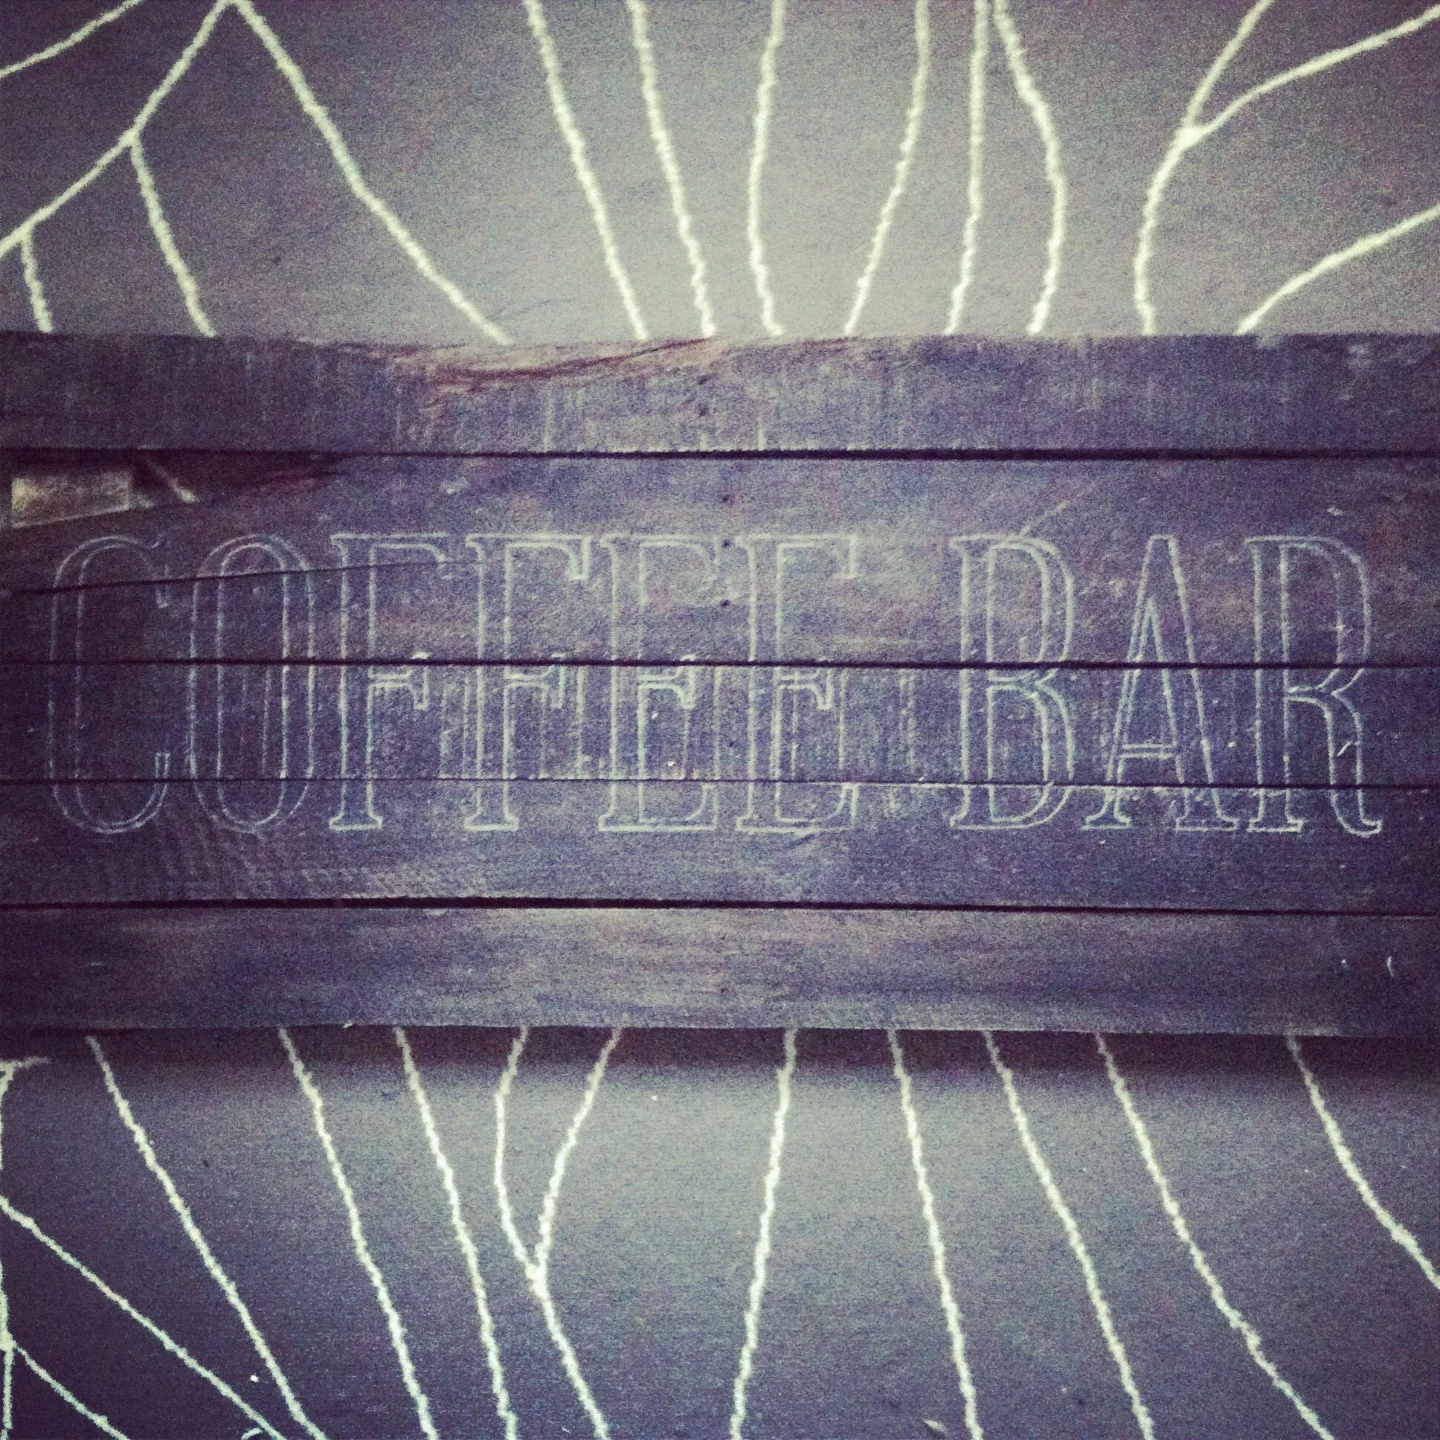
These hand-painted signs were created for Renaissance and are pretty simple to do yourself with only a few materials.
MATERIALS:
wood, cut to size
black wood stain (optional)
print-outs of lettering or design
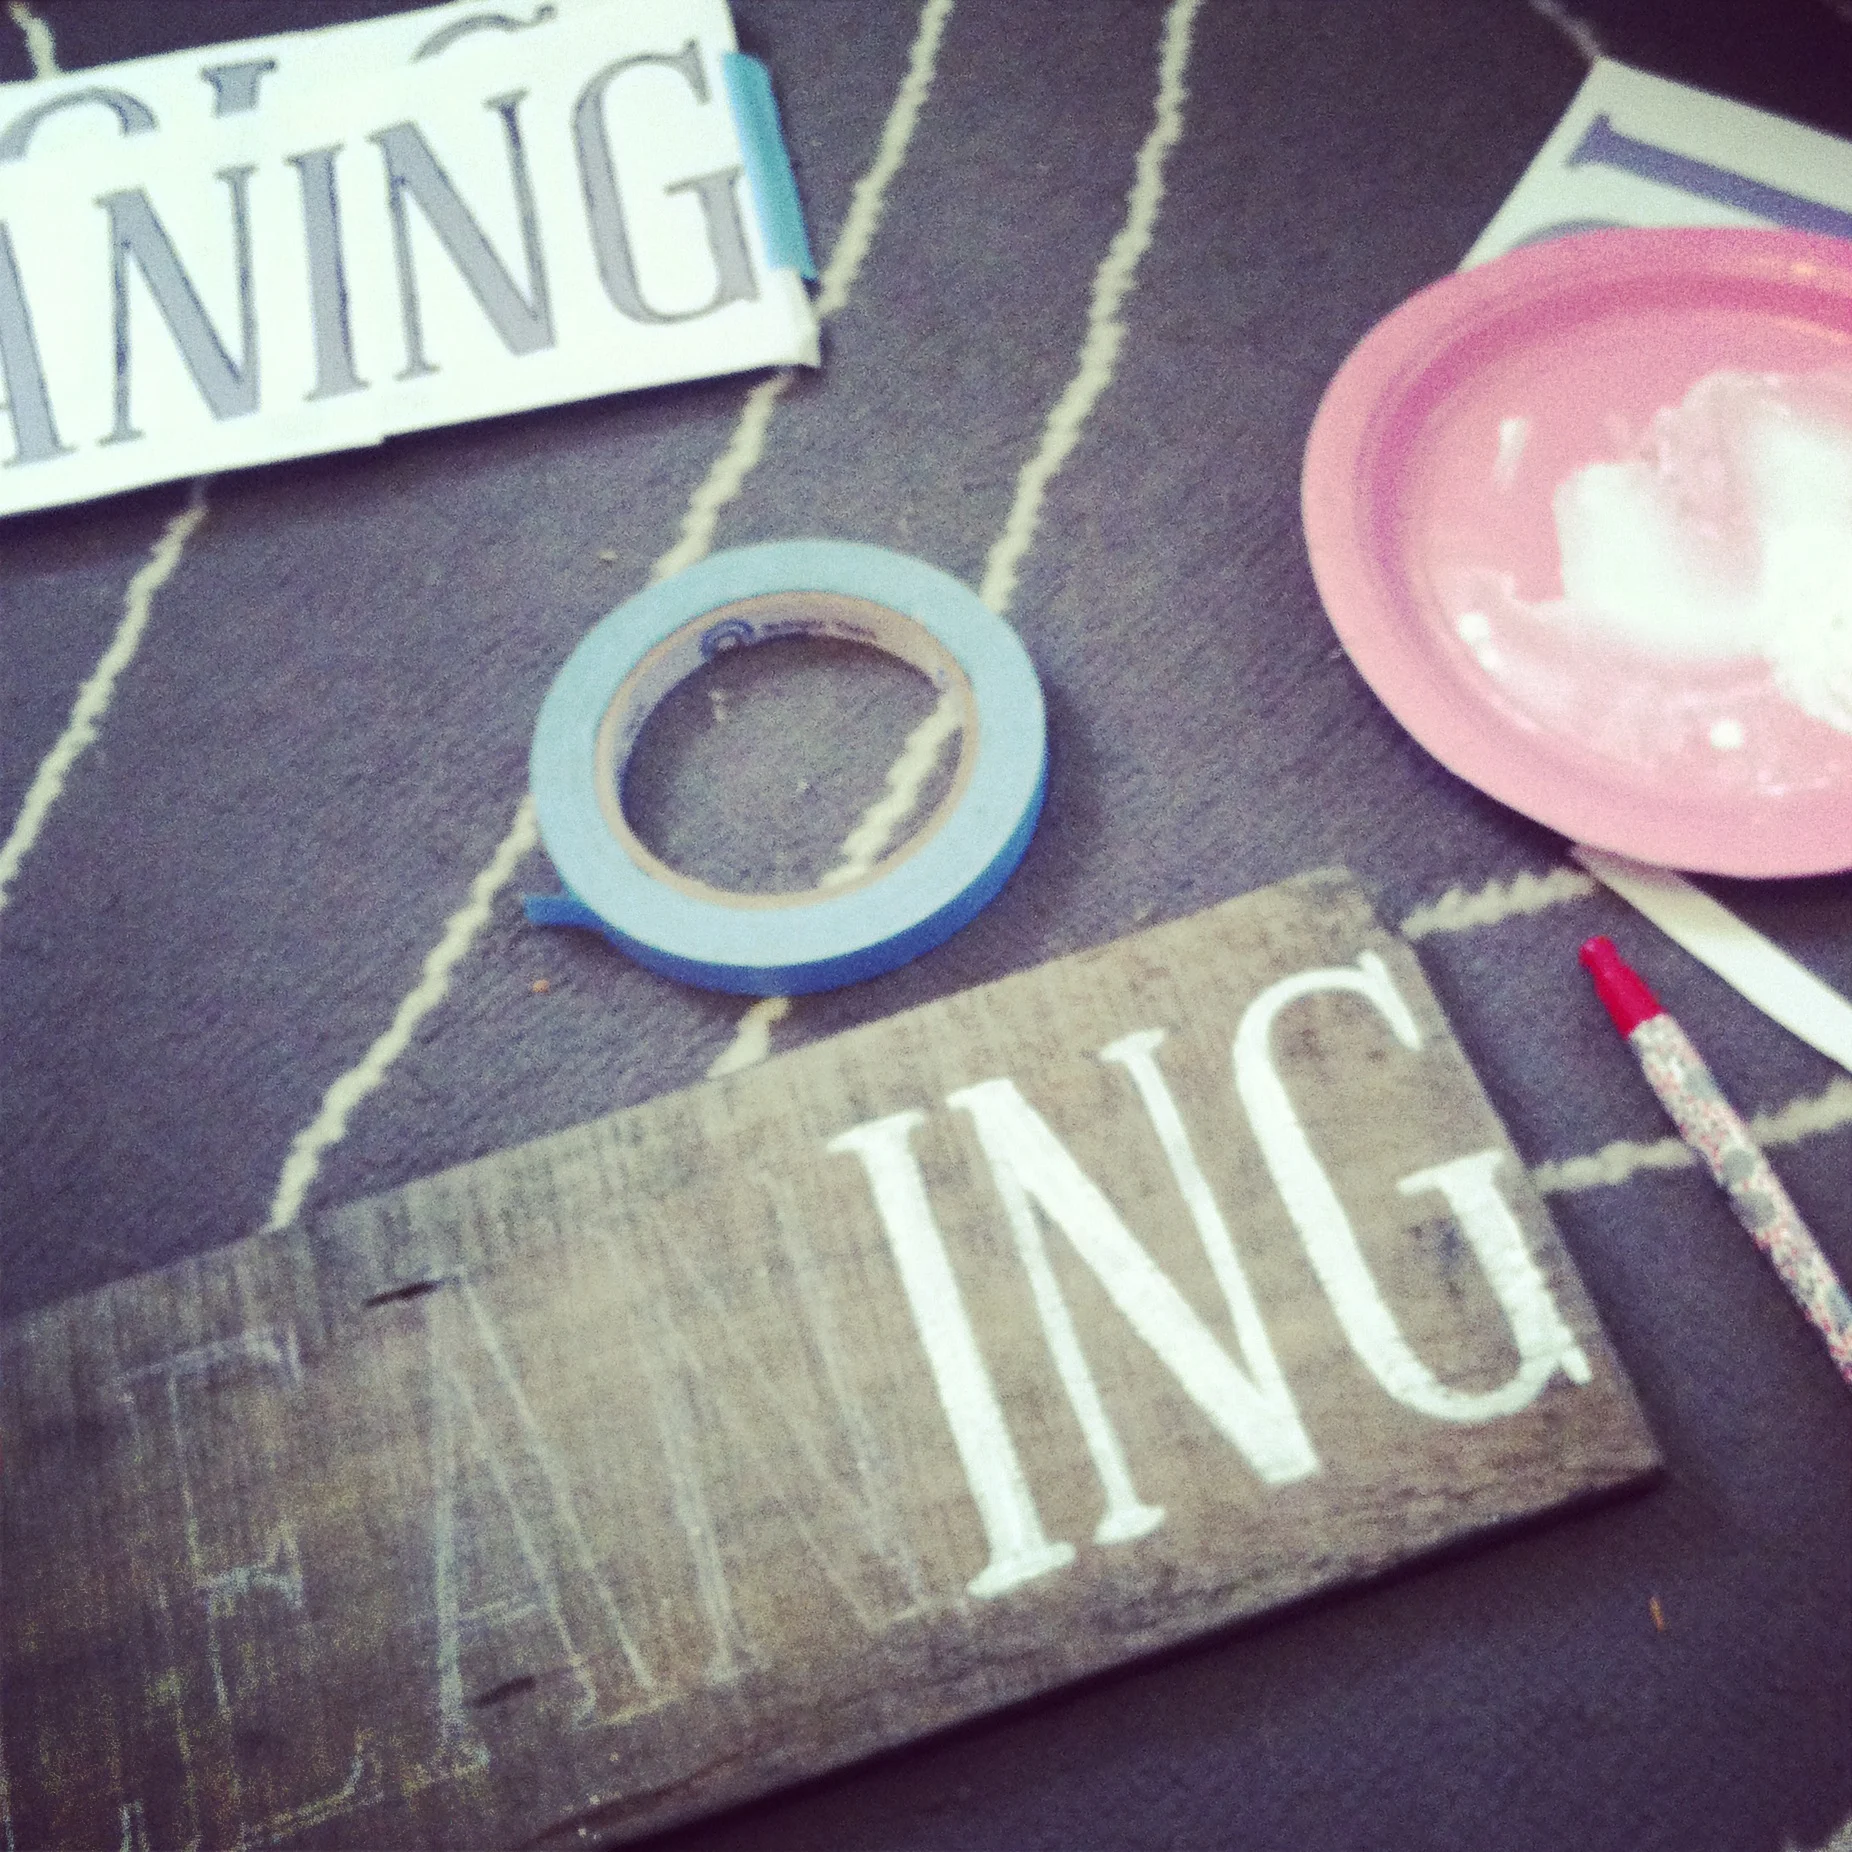
white chalk
paintbrush
acrylic paint
Here's what I did:
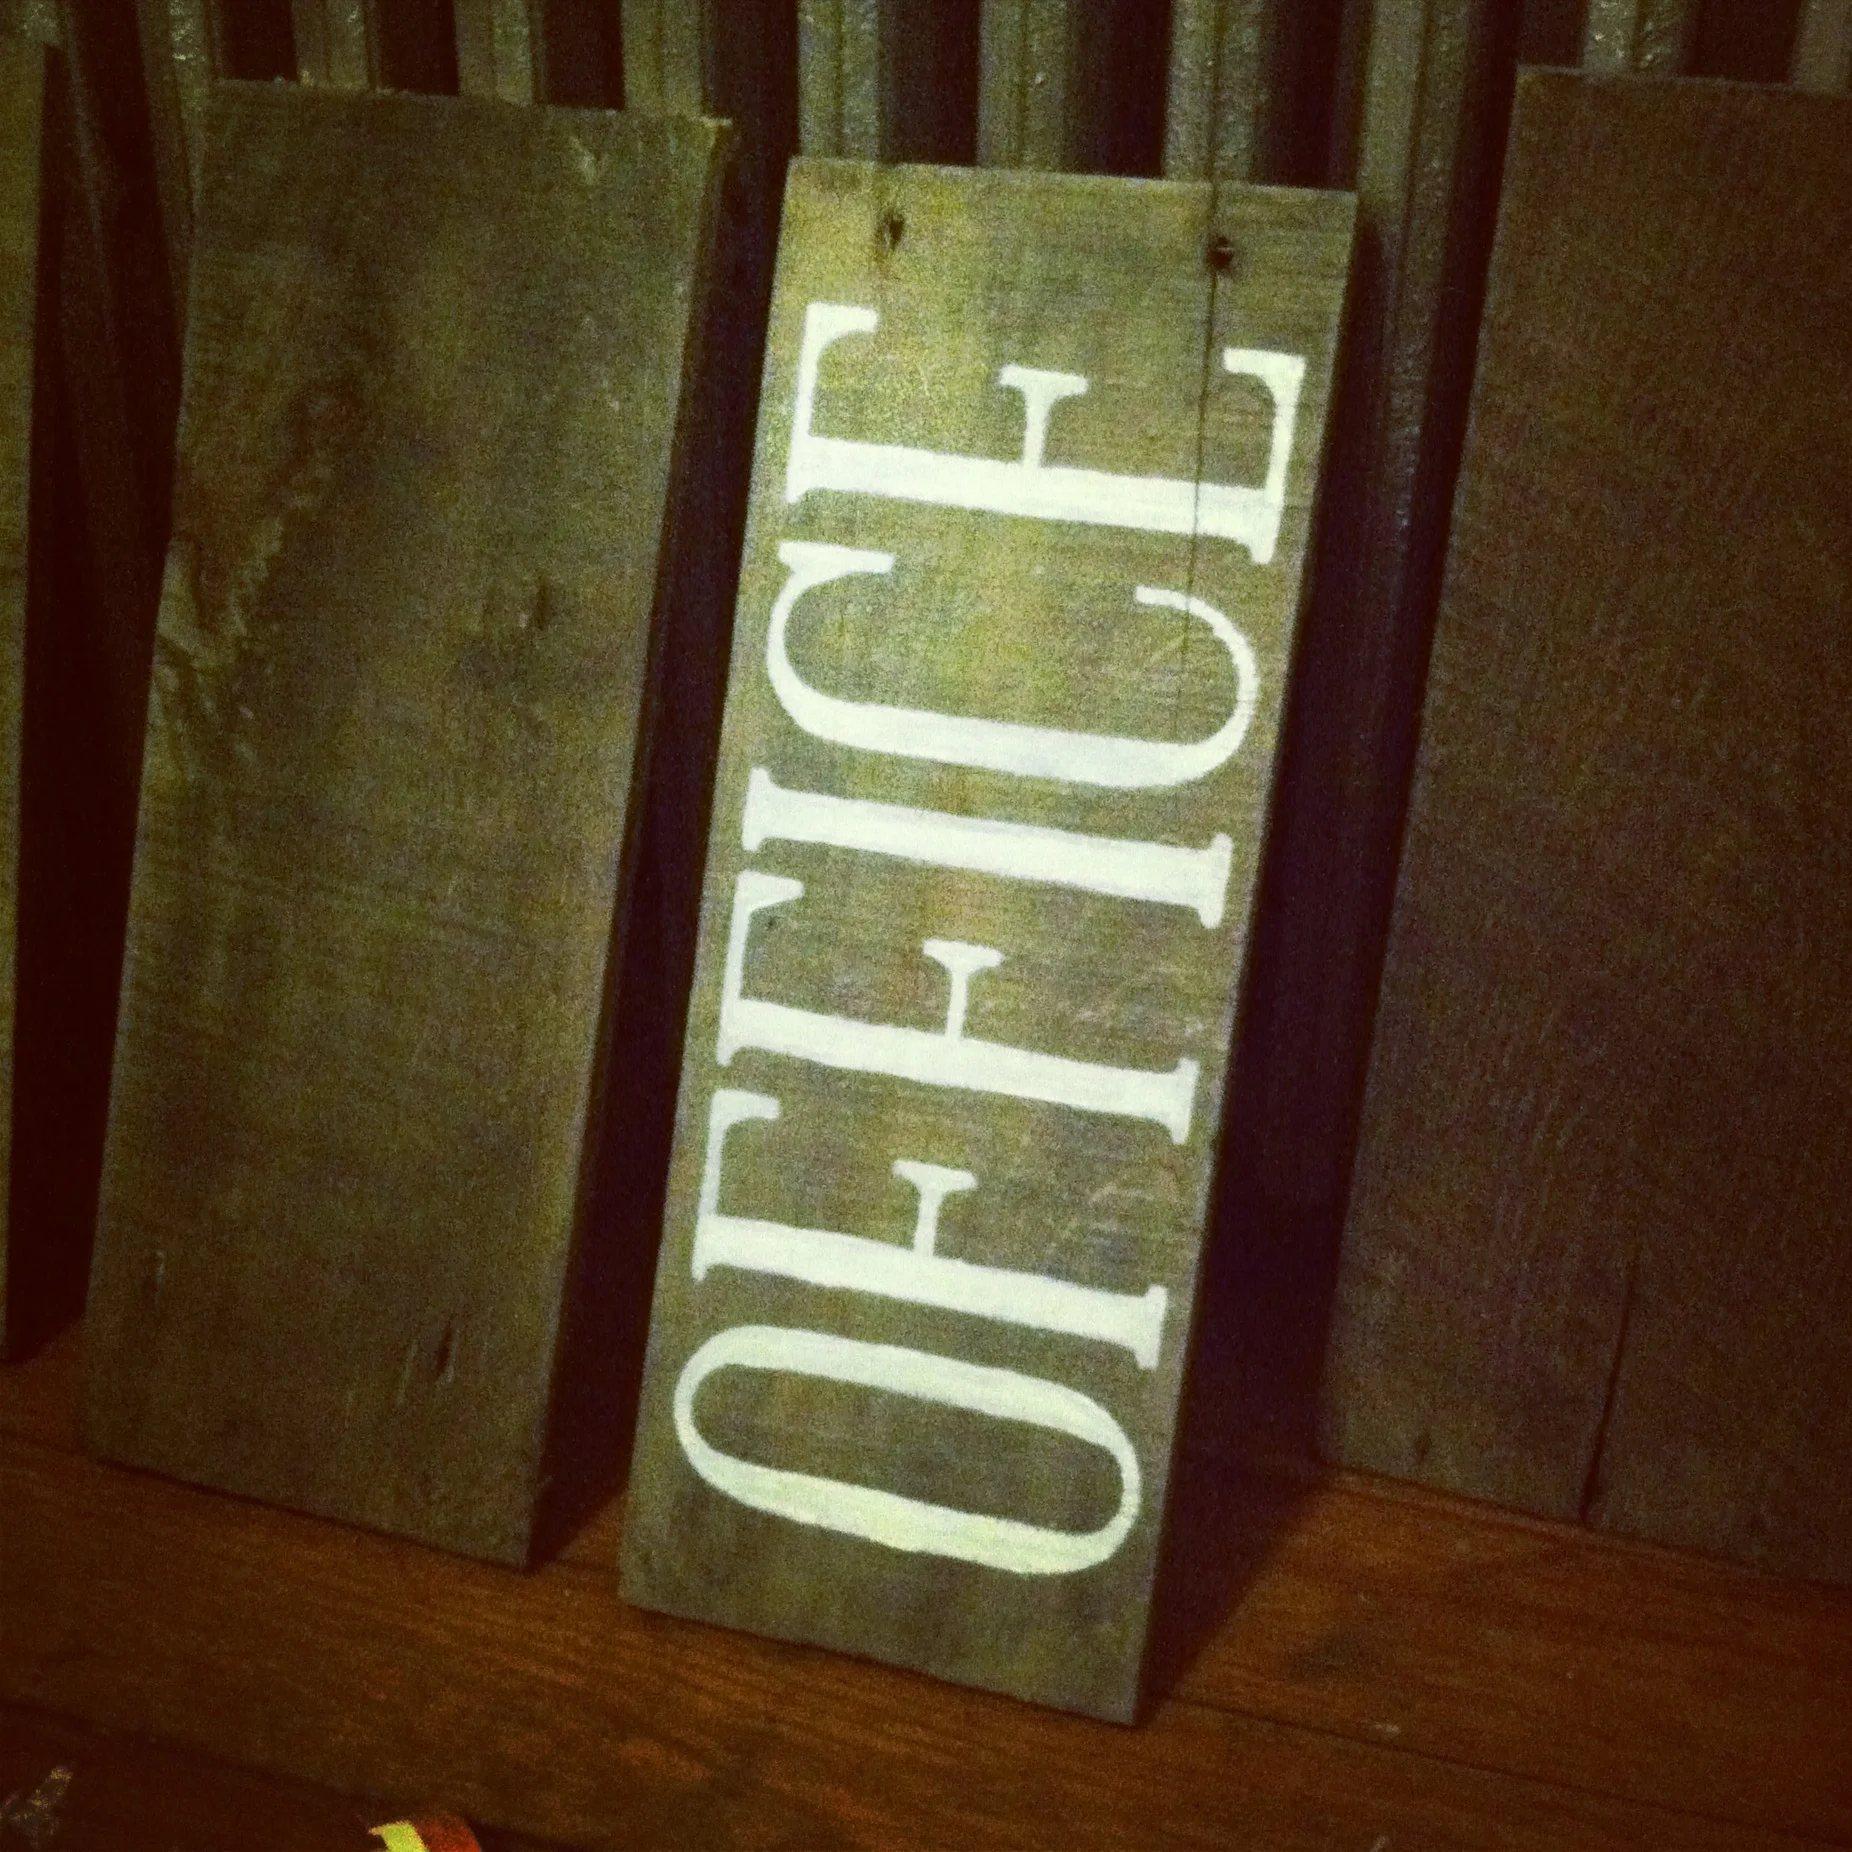
Since the wood pieces I used were from different sources and had slightly different colorings, I used a black wood stain to make all the pieces unified.
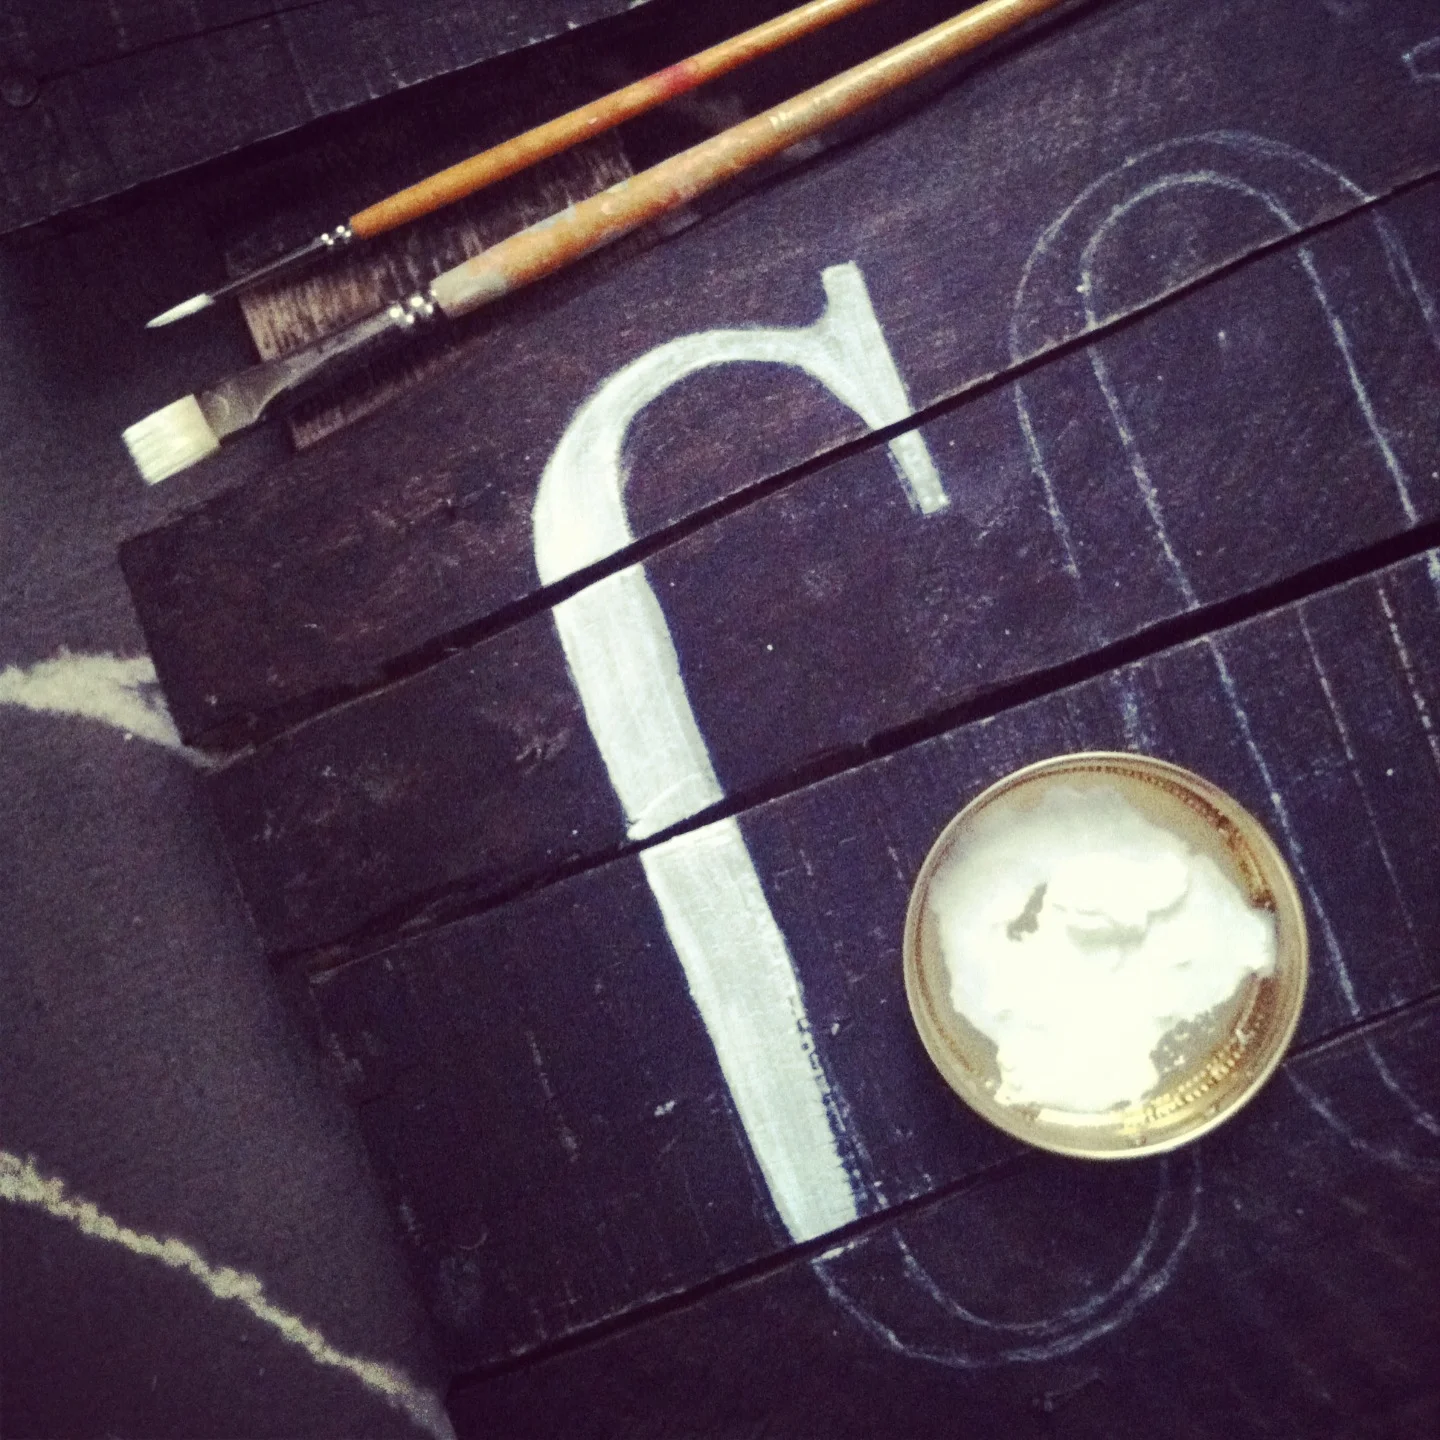
I printed out the lettering to transfer to the wood by covering the back of the paper with white chalk. Then, I traced the paper printout letters with a ballpoint pen, pressing hard. This left a light chalk outline to help make the painting faster and easier.
After the design was transferred, it was just a matter of painting all the letters in. I used a couple sizes of brushes and watered down my acrylic paint a tiny bit to help it flow better.
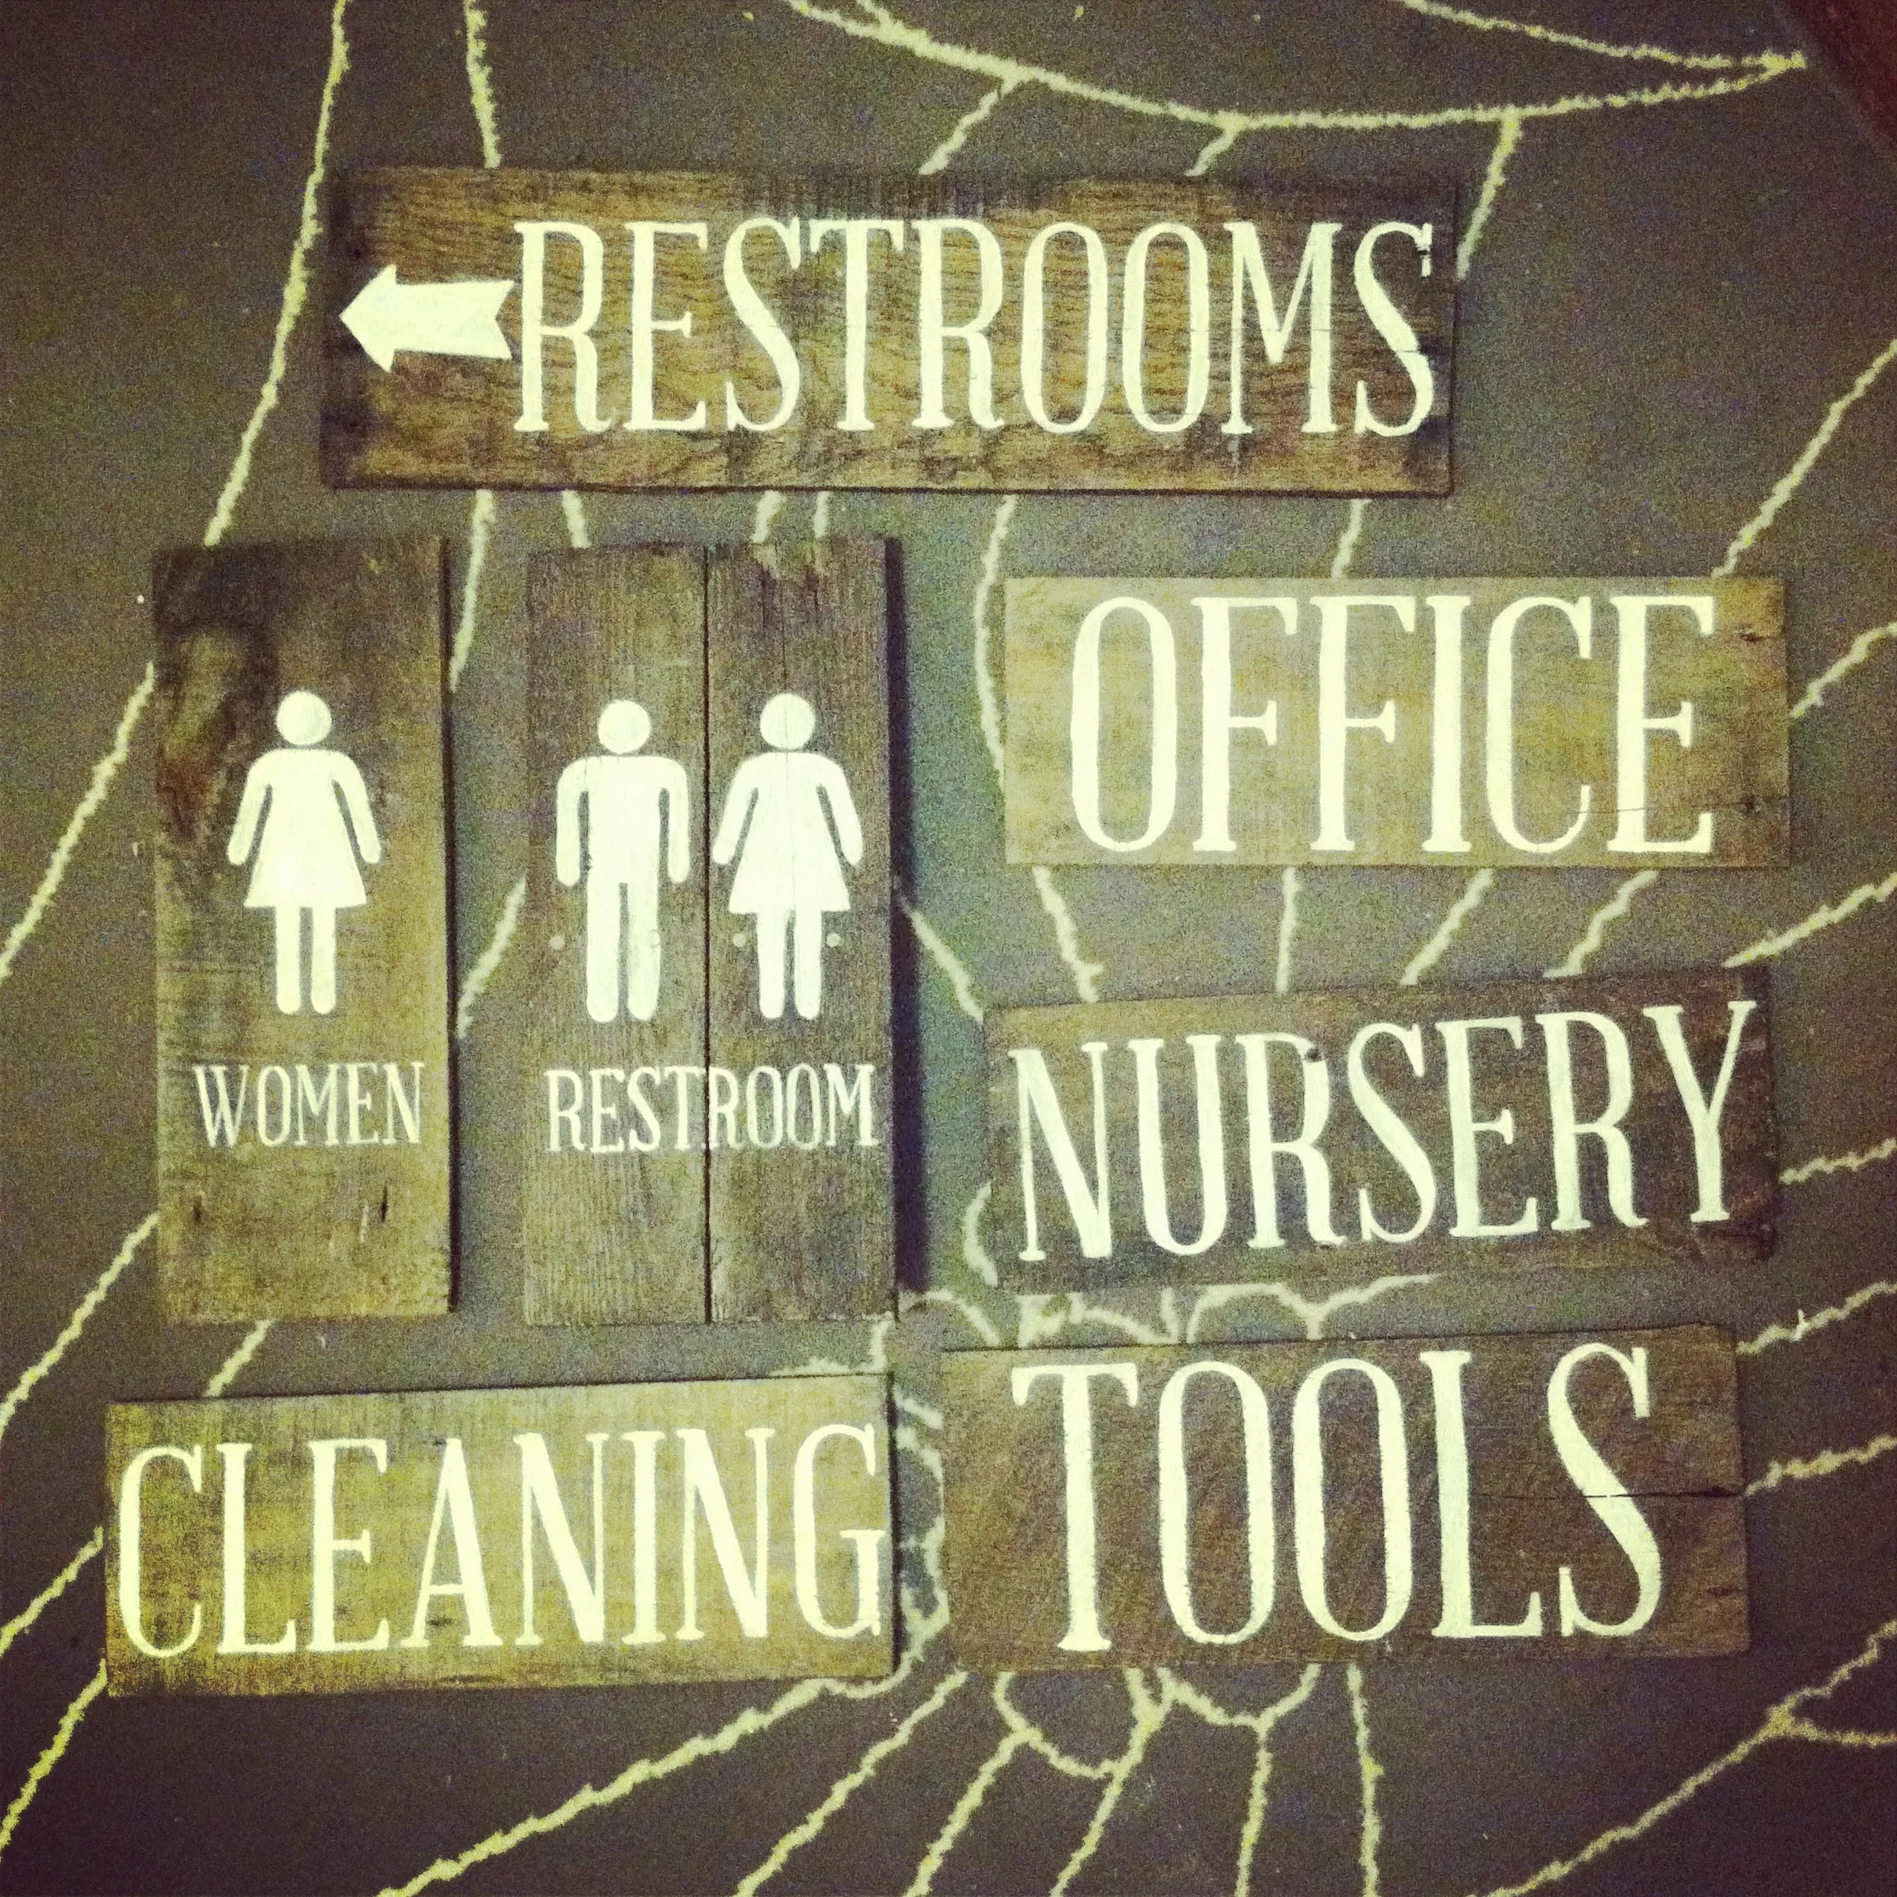
I love how these came out and would definitely recommend trying a similar project out yourself.
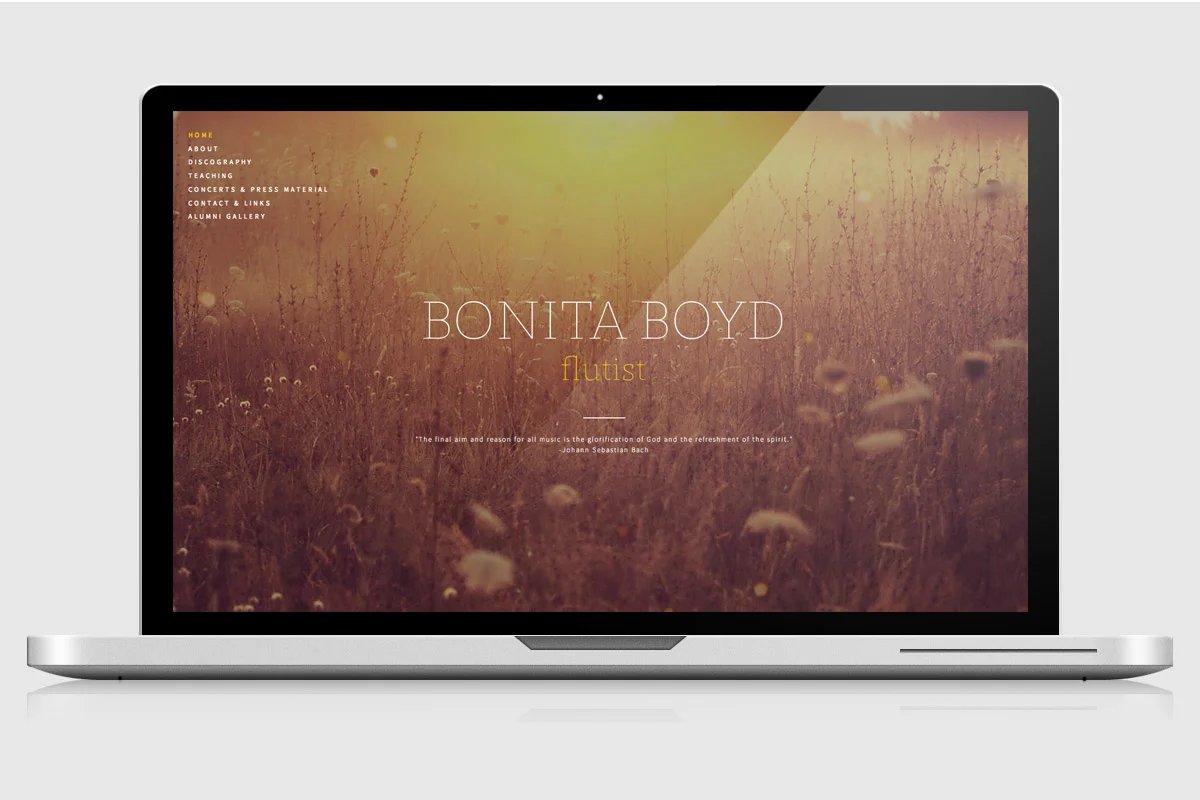
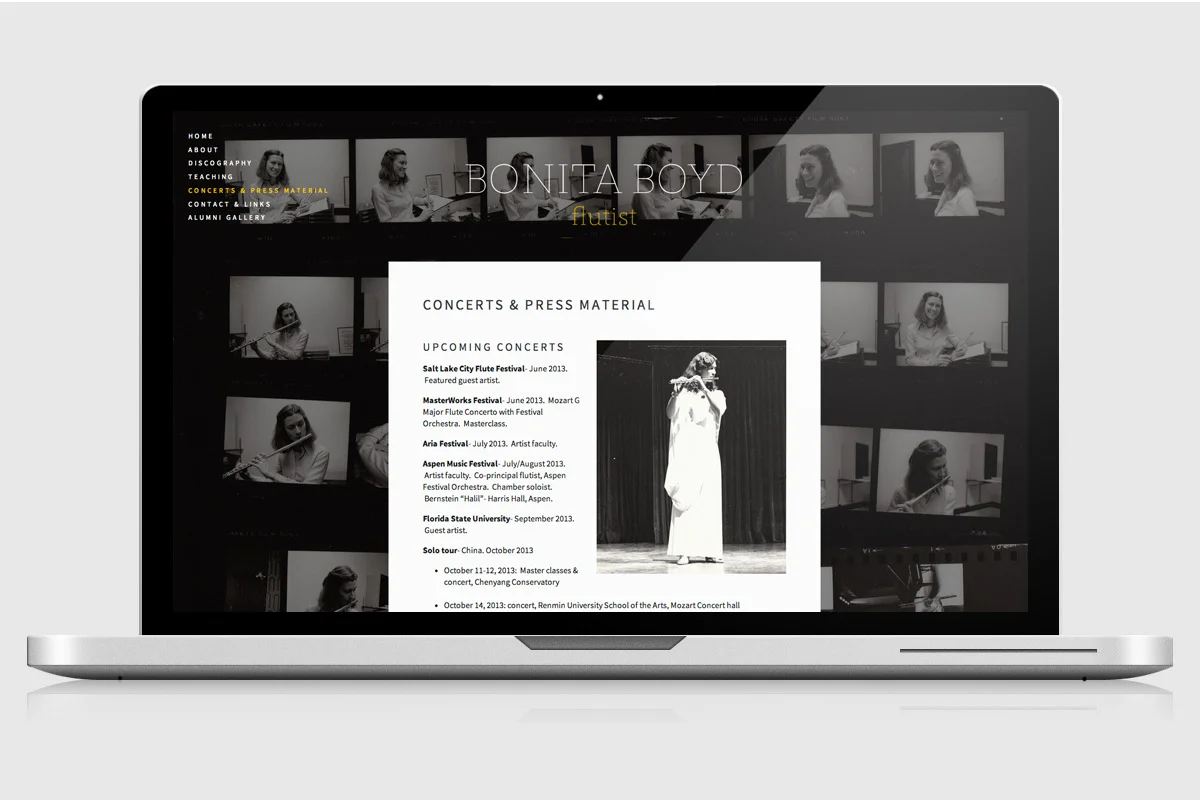
It was an honor to create this website for the extremely talented concert flutist Bonita Boyd. She performs all over the world, has recorded an impressive discography, and teaches at the Eastman School of Music. Bringing all of this together into one website really shows how passionate Bonita is, and how many lives she has touched! Congratulations on the new website, and all the best to you, Bonita!
PROJECT: Website design, logo design, photo editing
RESOURCES: Powered by Squarespace. Fonts: St. Marie Thin, Source Sans Pro. Home page photo: courtesy of James Alby; all other photography provided by client.
“It is my great pleasure to recommend Alli Coate’s work in virtually every respect. She has designed a beautiful, sensitive, exciting, and imaginative website for me! Her design is absolutely marvelous- what she can do with the available materials to make them meaningful and striking is astonishing! Alli is also a delight to work with- organized, concerned and caring about her client’s needs and wishes, and a person of the utmost integrity. I am thrilled with her work!”
— Bonita Boyd Professor of Flute, Eastman School of Music Performing and recording artist
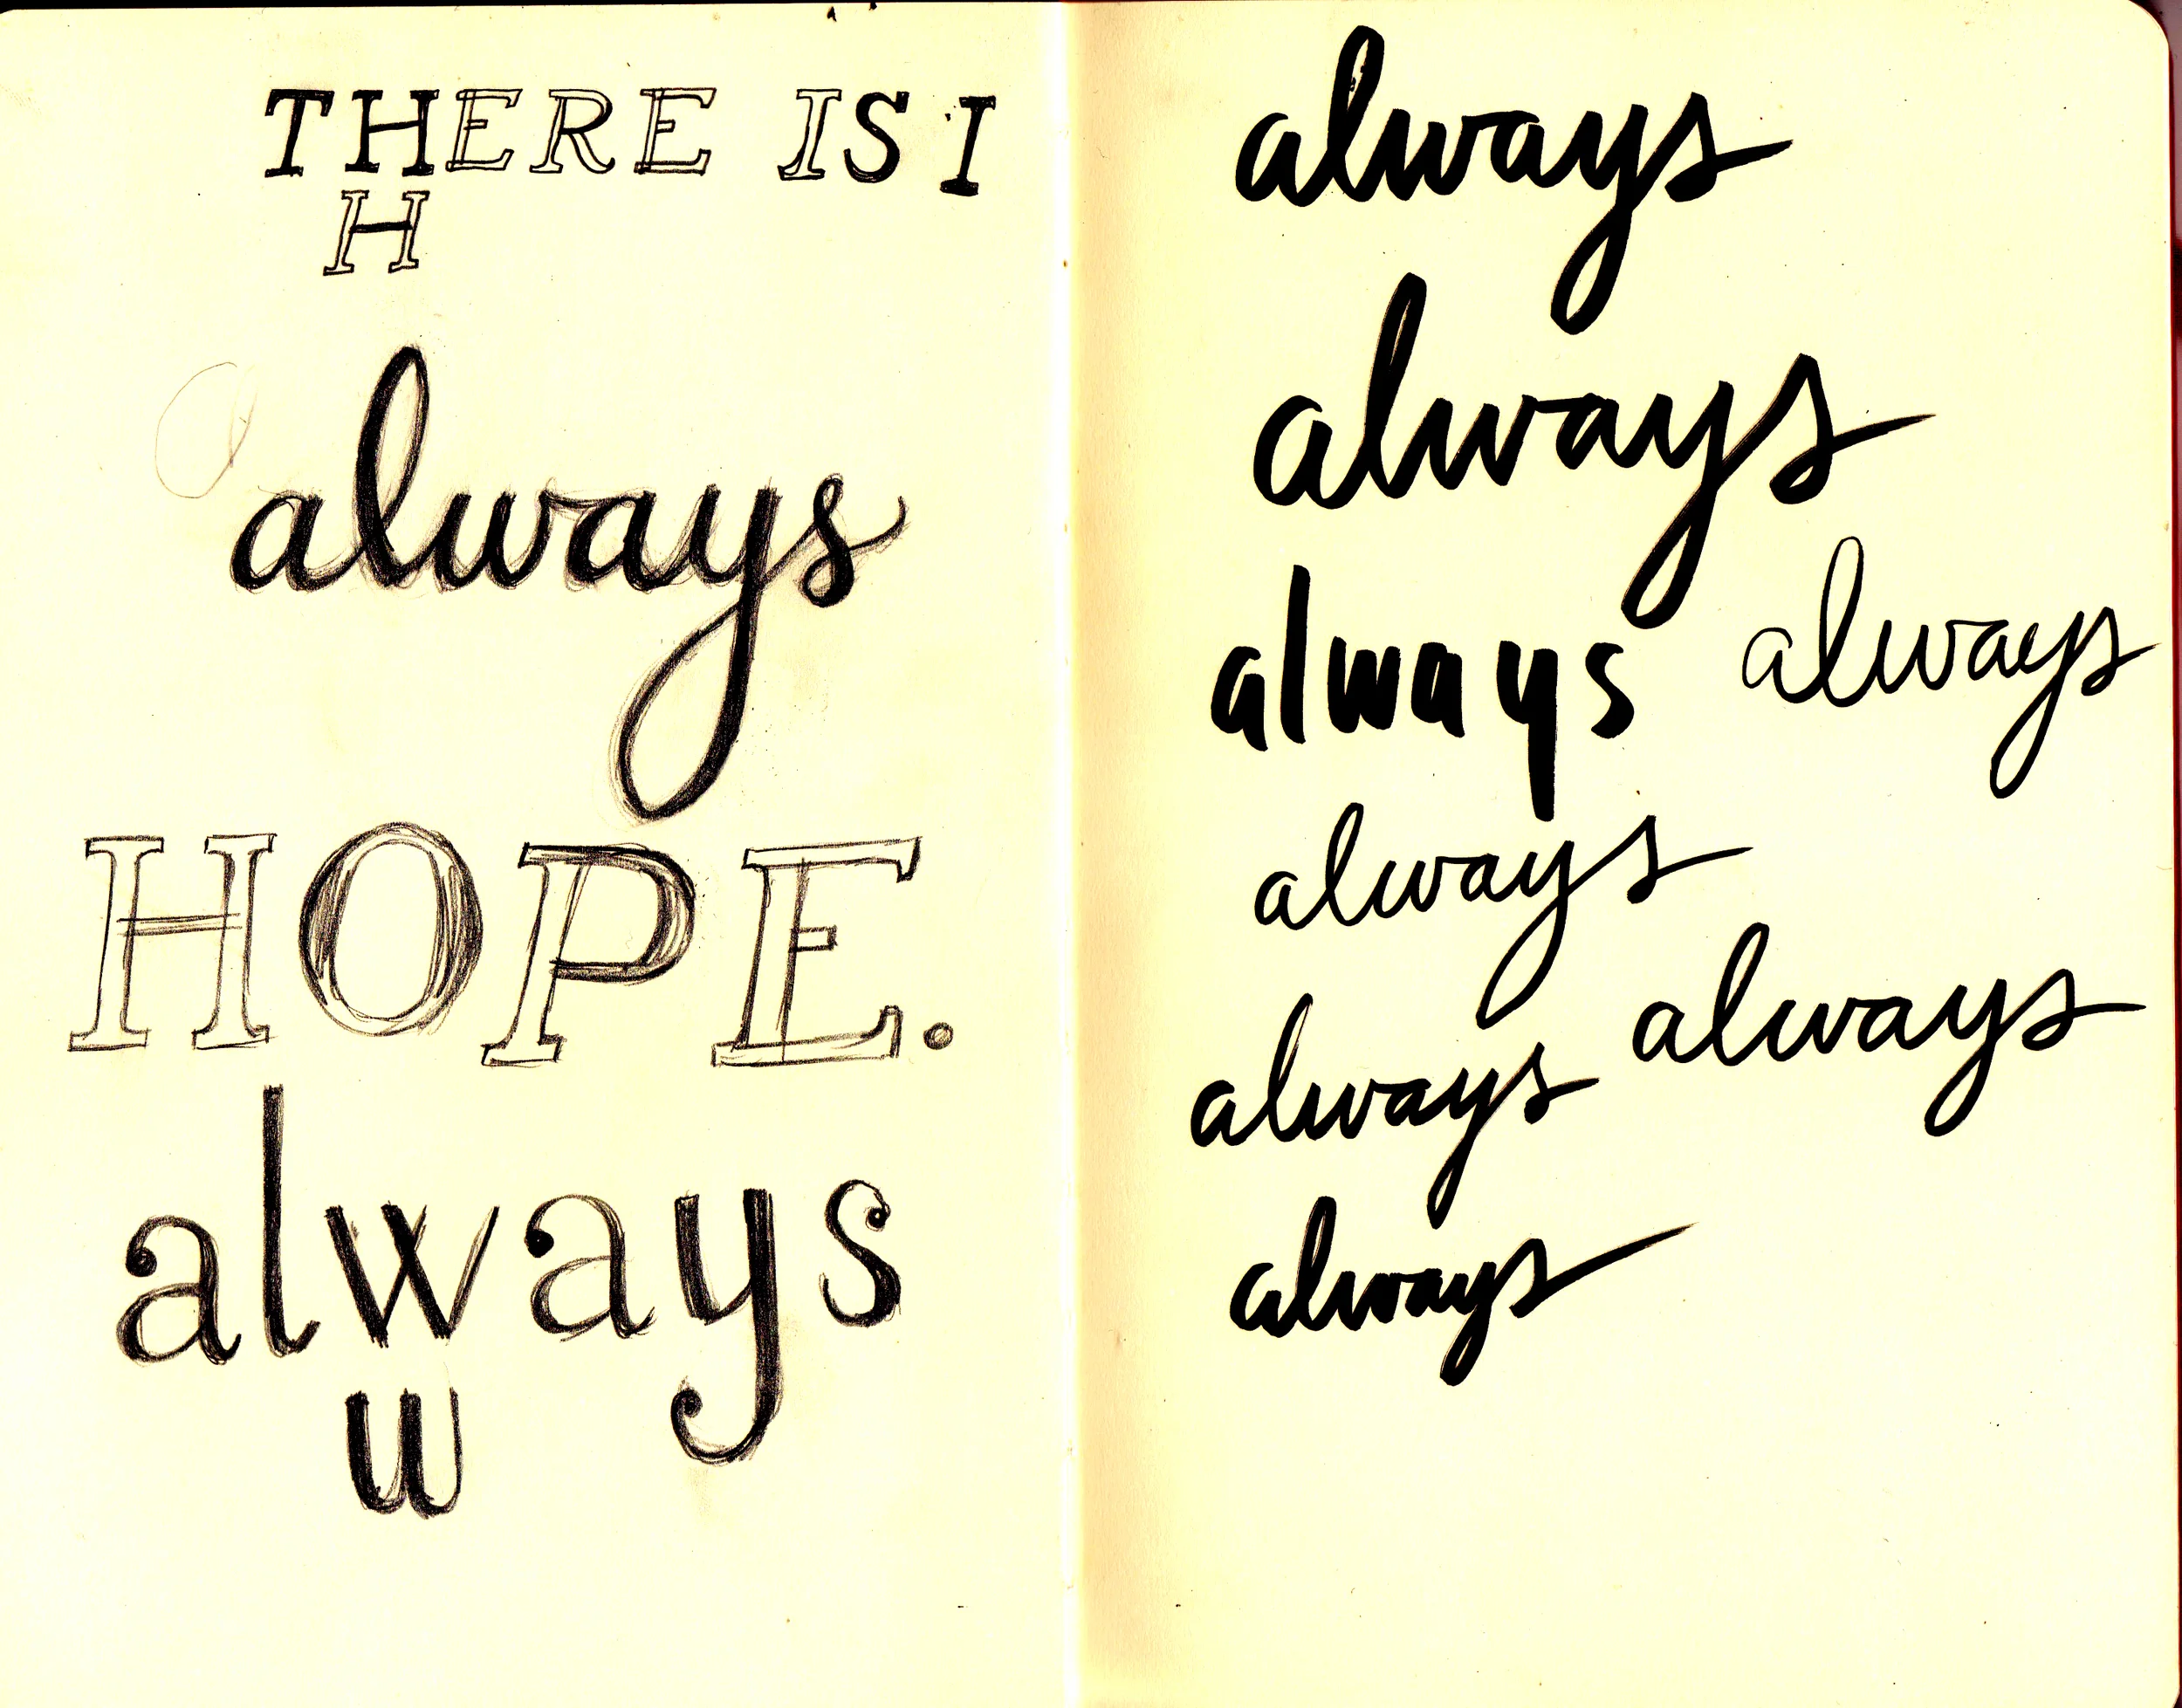
Remember that "there is always hope." Hand lettering and illustration for PeaceLove Studios, posted on their blog today. You can download this artwork as a free background wallpaper for your computer or phone from the PeaceLove blog.
It's here! I've been making lots of websites for clients, then realized that it had been a very long time since I'd given any attention to my own. All I can say is - finally! And two thumbs up to Squarespace for being awesome.
Inspired by my Lace Trees print, this new collection from my wedding shop is a fresh take on a winter theme. Bits of lace, an icy shade of blue, and cardinal red accents are threaded through the collection, which includes pretty details like a Save the Date, table numbers, coordinating address labels, favor tags, menus and more.
As with my other wedding collections, the Winter Lace Collection was dreamed up for brides looking for a cost-effective way to handcraft a beautiful wedding, and need a little help getting started. My design files are delivered as PDF files that can be printed wherever and at whatever quantity you'd like.
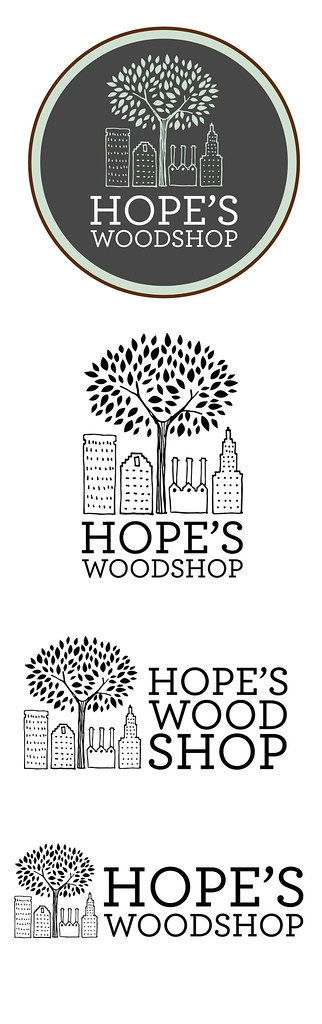
Hope's Woodshop is a non-profit based in Rhode Island that is dedicated to giving handmade furniture to local families in need. When they asked me to create a logo combining a tree and the Providence skyline, I happily agreed and set pen to paper. I love drawing this little city!
The woodshop makes beautifully crafted and simple furniture, the kind you can imagine passing down for generations. I used a simple hand drawn line style for the logo to emphasize this; it's no-frills but with a friendly charm that comes from the slight imperfections of drawing by hand.
I also created an illustration in the same style that shows off the design and features of their first table.
I'm excited about what this organization is doing, and am wishing them all the best! Be sure to take a look and their website and facebook.
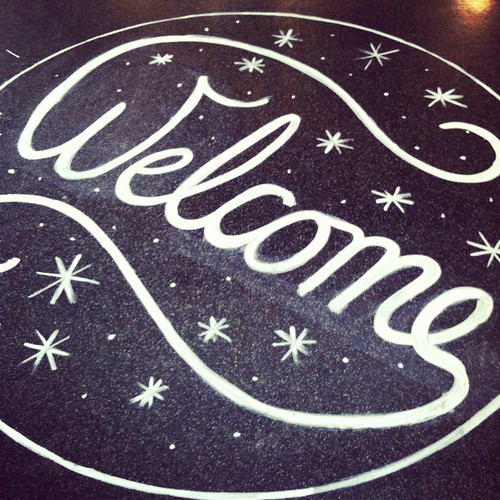
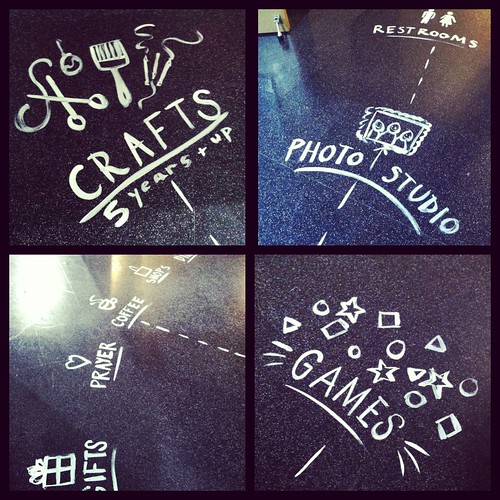
For signage at our most recent event at REN, I decided to try something new and paint on the floor. First of all, painting on the floor is really fun and I highly recommend it (as long as you test in an inconspicuous area first!). I used a mixture of about 50% acrylic paint, 50% liquid dish soap to make it easier to wash off. The thinner consistency also made it easier to paint with - a nice bonus.
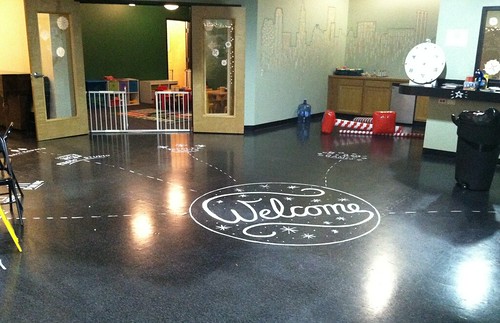
After lettering the large circle (approx. 5ft diameter), I painted arrows, illustrations, and lettering that explained what each area was. Below is a photo of the whole lobby area (this was mid-setup, so don't mind the random things scattered around!).
There were a lot of people walking around that night, so by the end of the event the paint was looking a little worn. It was all still legible, though, and I actually like the worn-in look.
If you're interested in seeing what the rest of the event looked like, you can watch a short video here.
A week or so ago, I set about creating something special for PeaceLove to share with their online community as a holiday greeting. I've long been an admirer of stop motion animation, but had never really tried it myself. Thanks to some great friends at risd who let me tag along with them to the animation studios, I have a basic understanding of how it works. After sketching up some quick thumbnails to figure out how I wanted everything to look, I grabbed some paper, paint, and cotton and got to work.
I started out with a test run to make sure everything would work the way I wanted it to. I used a program called FrameByFrame that helped a lot with figuring out movement; it lets you see the previous frame overlayed with the current frame. This makes it really easy to see how much you're moving or changing each object with each frame. Thankfully everything worked the way it was supposed to, but the drawback was that FrameByFrame uses my built in camera so the image quality left a lot to be desired. Still, it was good practice and helped me plan the final version. (You can watch my test-run here)
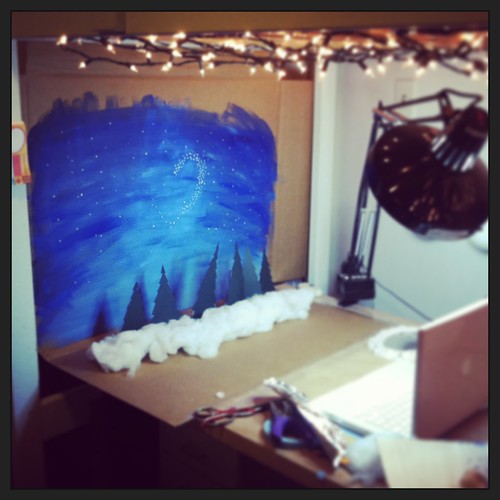
For take two, I graduated to my DSLR camera for better image quality. I basically had to guess how much to move everything for each shot, but I had the basic idea of what I needed to do from my test animation. I also used the self-timer feature since I was working in low light; otherwise I might have accidentally moved the camera and made the photo blurry. Speaking of lighting, my "built-in" Christmas lights helped give some softer light, in addition to my nice bright worklamp. (You can see more of my lighting and studio setup in my studio tour.)
As you can see from this revealing behind-the-scenes shot, I didn't use any fancy tools! You can probably tell from the video that the backdrop was made from cardboard. The trees were cut from paper and taped to nail polish bottles to keep them standing. I needed a little more height, and a box of aluminum foil was the perfect size. The banners were taped to paint brushes, which were jammed into containers filled with tissue paper to keep them upright. Hopefully this doesn't take away from the "magic" of the illusion for you, but I really wanted to show that you can do a lot with what you already have around the house. The trick is keeping it hidden in the animation!
Thanks for reading, and (belatedly) happy holidays!
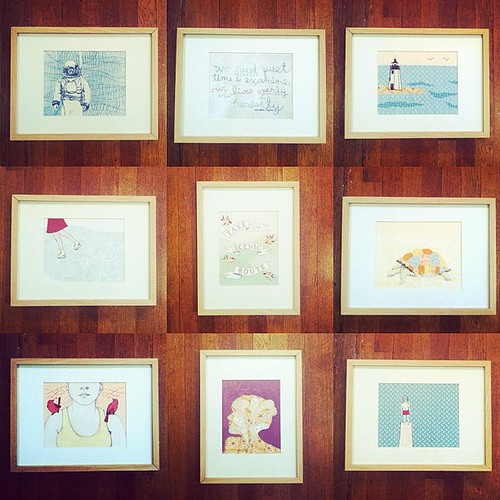
A quick note for the local folk - I have some framed prints left over from a gallery show that I'd rather not deal with shipping ;) so I'm offering them to Rhode Island people who would be able to pick them up. The prints are 8"x10" and the outer dimensions of the frames are approx. 13"x17". They're the ribba frames from ikea and cost me $10 so I'm selling the framed prints for $32 ea. Get in touch if you're interested- alli@allicoate.com